Friday, October 31, 2008

BOO! Happy Halloween!

In the spirit of the holiday, I wanted to share a YUMMY recipe with you.  I know there are many version of this cookie out there, but this is the one my mom has used for years and sells great big cookies at the farmer's market using this recipe.

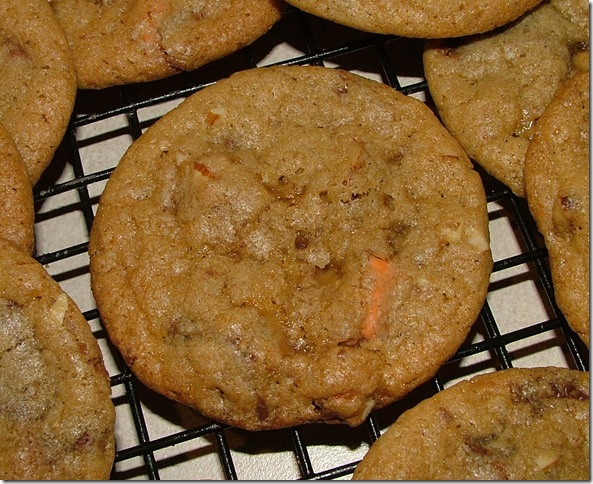
Don't be frightened---It's MONSTER COOKIES!  While they don't look Halloween-ish, it is scary how much goes in to these cookies.  Yes, you can--and probably should scale it down.  But, silly me, I only halved it.  Be aware, the recipe halved still makes dozens and dozens of cookies.  Well, you'll see when I post the recipe.  But let me just show you the bowl of cookie dough--this is my biggest bowl.  I mixed the dough in the Kitchen Aid mixer, but before I could finish putting in the oats and mix-ins, I had to transfer it to this bowl.  The cookie is so full of good stuff that it doesn't even need flour to hold it together.  I actually made the dough about a month ago when I really needed to clean out my baking cupboard.  I had too many open bags of chips and candies.  So I dumped them all in with these cookies and they turned out great.  After baking 2-3-4 dozen, I made the rest into cookie dough balls and laid them out on a baking sheet, in layers, with each layer covered by wax paper, and I froze them.  I believe I froze another 5 dozen or so.  Huge, I'm tell you!  Monstrous!  But SO good!  I pulled a few dozen out of the freezer and baked some more off a few days ago in honor of this blessed day.  (When freezing dough balls, these cookies need to be flatten slightly before freezing.  They also need to thaw slightly before the layers with wax paper will come apart from each other, or freeze before layering.)

DSCF9302

So, the dough went from this---to these:

DSCF9306

I made some big ones (center), but then made most of them smaller.  What?  Are you seeing Oreo cookies in there?  Yes, just another thing I needed to "clean out" of the cupboard.

DSCF9310

Okay, I'll stop teasing you with pictures and give you the recipe.  But be warned--it's huge!  Feel free to cut it down, way down.  But if you need a huge amount of delicious bake sale cookies or for whatever, these are great!

MONSTER COOKIES--the recipe comes from a friend of my mom's, Laurie Nelson, that was put in an old church cookbook.  (This is only HALF the recipe!)

6 large eggs

4 cups brown sugar

2 cups granulated sugar

1 1/2 teaspoons vanilla extract

1 1/2 teaspoons corn syrup

4 teaspoons baking soda

1 cup butter, softened (not margarine)

1 1/2 lbs. peanut butter 

9 cups old fashioned oats

Here's where you get to have fun:  Add whatever chips, etc. you want.  I added to this batch:

3 cups semi sweet chocolate chips

2 cups M&M's

1 cup peanut M&M's

6 Oreo cookies, broken up

a handful of Reese's peanut butter Whoppers

a handful of Reese's pieces candies

a handful of Reese's peanut butter chips

In a big, giant bowl, mix ingredients together in order given.  I like using the mixer until it gets to be too much.  If you 1/4 the recipe, it will all work nicely in the mixer.  Use a cookie scoop to make dough balls and flatten slightly before baking on parchment paper lined baking sheets.  Bake at 350 degrees for 12 minutes.  Cool on pan for 5 minutes before moving to a wire rack to cool. 

DSCF9859

These cookies are so simple and tasty--hello, we're talking about peanut butter and chocolate and candy here, people!  You cannot go wrong with these Monsters!   Now go--go Trick-or-Treating with the kiddies and then raid their candy and make these cookies! ;)

Wednesday, October 29, 2008

Pumpkin Chip Cupcakes--SO Good!

I signed up to bring a "treat" for Scottie's Halloween party at school on Friday, but the school wants the treat to be a healthy type snack (which I think is a bit silly since it's a holiday!), but whatever, I went in search of some kind of muffin/cupcake that was a bit more healthy than traditional ones.  I also wanted something that would be fun to decorate.  I started thinking pumpkin--helps that I have a big open can of it in the fridge.  So the first thing I decided to do was go to the trusty old Allrecipes website and search for pumpkin cupcakes.  The very first one I looked at seemed like a winner, it has no refined sugar (honey instead) and was fairly low fat, not to mention uses some whole wheat flour.  Ding, ding, ding!  I didn't want to make the whole recipe if it didn't turn out nice and moist and flavorful and worthy of being a kid's fun treat, so I scaled down the recipe (love that about Allrecipes, with the touch of a button you can scale up or down a recipe to fit your needs!) and made four cupcakes. 

DSCF9866

These are the perfect pumpkin cupcake!  I like that they weren't so sweet, you can actually taste the pumpkin more without all the sugar, but they get plenty of sweetness from the honey and of course, the icing on the top.  I'm calling it good and making 30 of these tomorrow!  And just how cool are the eyeball chocolates I found at Cost Plus World Market the other day.  Just what I was looking for!

Here's the delicious recipe adapted slightly:

Pumpkin Chip Cupcakes

  • 1 cup all-purpose flour
  • 3/4 cup whole wheat flour
  • 1 teaspoon baking powder
  • 1 teaspoon baking soda
  • 1/2 teaspoon salt
  • 1/2 teaspoon ground cinnamon
  • 1/4 teaspoon ground nutmeg (I used a sprinkle of pumpkin pie spice)
  • 2 eggs, lightly beaten (I used Egg Beaters with a touch of yolk) 
  • 1 cup canned pumpkin puree
  • 1/2 cup vegetable oil
  • 1/2 cup honey
  • 1/3 cup water
  • 1/2 cup chopped walnuts (omitted)
  • miniature chocolate chips
  • FROSTING:
  • 1 (8 ounce) package cream cheese, softened
  • 1/4 cup butter or margarine, softened
  • 1 teaspoon vanilla extract
  • 2 cups confectioners' sugar  (I'm going to add more powdered sugar, this was a bit too much cream cheese per sugar ratio and it was a strange consistency, but when I added more sugar, it was GREAT!)

Preheat oven to 350 degrees.  Line muffin pan with 15 cupcake liners (If not using liners, coat pan with cooking spray).  Set aside.

In a large bowl (no need for a mixer), combine the first seven ingredients.  Whisk together.  In a medium bowl, combine the eggs, pumpkin, oil, honey and water; mix well.  Fold the wet ingredients into the dry and stir just until combined.  Fold in chocolate chips and nuts.  The recipe says bake for 20-25 minutes or until a toothpick inserted comes out clean.  Mine were perfect at 16 1/2 minutes.  (Do not overbake!)  Cool 5-10 minutes before removing to wire rack to cool completely.

For frosting, in a small mixing bowl, cream together the cream cheese and butter.  Add vanilla, mix well.  Stir in powdered sugar until smooth.  (I did this all by hand with a spatula, it will work fine if the cream cheese and butter are softened.)  Frost cooled cupcakes.   "Here's lookin' at you, Kid!"  And just how cute and perfect are these plates!

DSCF9868

DSCF9873 

Happy Halloween Party-ing!

Monday, October 27, 2008

Tuesday's With Dorie--Chocolate-Chocolate Cupcakes (and a great blogger giveaway!)

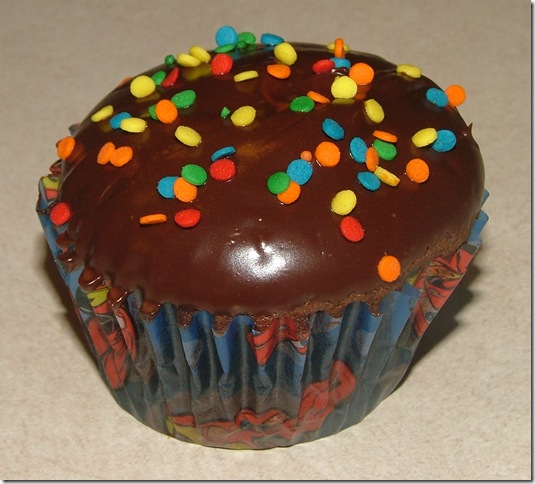
This week's recipe was for Dorie's Chocolate-Chocolate Cupcakes, from Baking From My Home to Yours, pages 215-217.  This recipe was chosen by Clara from I (Heart) Food 4 Thought.  She has a great blog and I love her fun writing about her adventures in the kitchen.  Great pick with chocolate cupcakes.  I actually made them a few weeks ago for Taylor's birthday.  They are nice looking cupcakes with an adult-ish bittersweet ganache-like topping.  I worried about that as I was making them for kids, but did make six cupcakes exactly as the recipe suggests.  Besides the fact that the cupcakes really weren't chocolatey enough and a bit dry (but not BAD!), they were still good and turned out cute and fun.  The kids gobbled up their six as well as some friends of mine enjoying the less sweet ganache ones. 

DSCF9475 

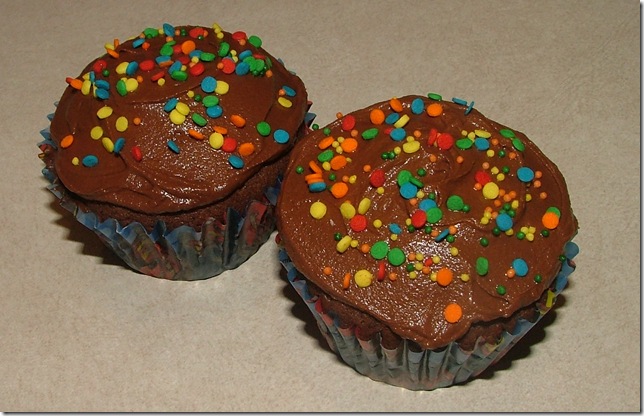
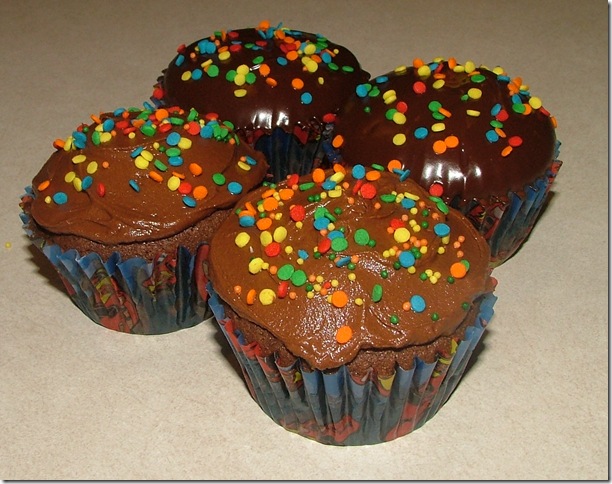
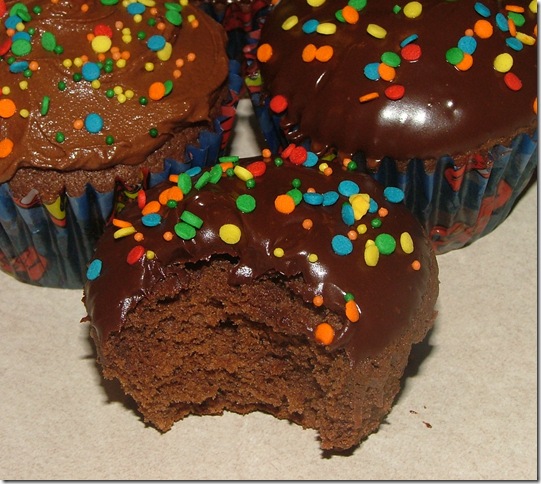
The biggest rave about the cupcakes was in fact the ganache.  It was not too sweet, but chocolatey finger-lickin' good.  I liked that it was a bit runny, so the cupcakes could be dipped into the ganache icing.  After doing this with six cupcakes, I just felt like the kids wouldn't like them not being very sweet, so I added some powdered sugar to the glaze and a tablespoon or so of soft butter and whipped it until it was fluffy and creamy.  I liked this better myself and I knew the kids would, too!  You can see the difference in the pictures.  Both halves were sprinkled with colorful birthday candies.

DSCF9460

DSCF9467

DSCF9470

I mean, really, you can't go wrong with a cupcake!  Thank you for the fun, timely pick for this week's recipe, Clara.  Check out all the other baker's blogs here at Tuesday's With Dorie for their versions of these cupcakes and get the recipe for them on Clara's blog at the top of this post.

__________________________________

And another thing I wanted to let you all know about was a great, fun giveaway from an amazing blogger whose blog inspires me and just makes me happy every time I visit it (daily!).  Tayna from SUNDAY BAKER is celebrating her one year blogaversary this week with all kinds of fun things, including some giveaways, fun discussions, lots of recipes and more.  Please check out her blog and if you want to be entered in her drawing, just leave her a comment.  It's that simple.  Be sure to mention me in the comment so I can get an extra entry in the drawing! ;)  (You never know, if I win the cookbook (Taste of Home's Best Loved Cookies and Bars), you just might get a little something from me in return!)  Check out this blog, you won't be sorry!

___________________________________

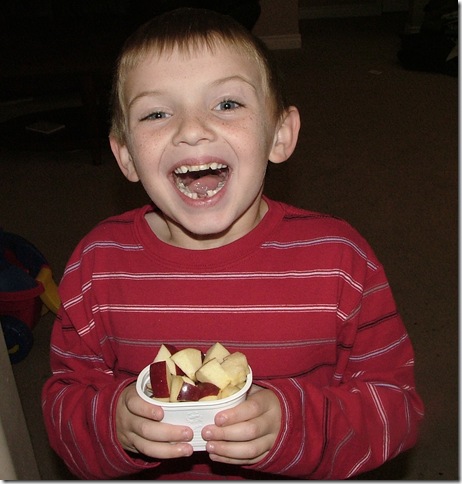
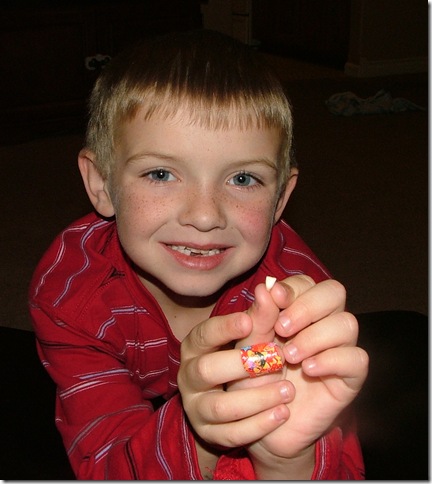
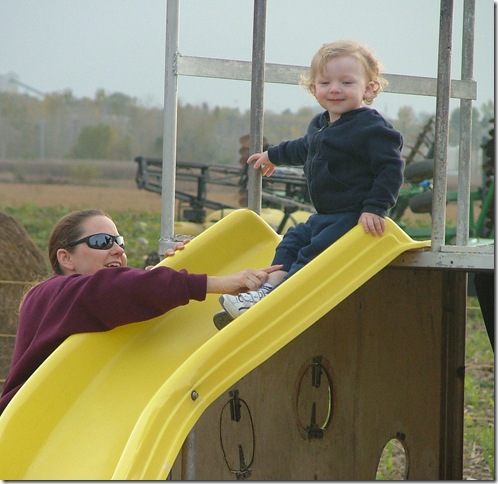
One more thing, Parker lost his second tooth today at school.  He's pretty thrilled about it.  After school, he wanted an apple for a snack, but made me cut it in to little chunks because he can't bite down on an apple anymore and then he wanted me to take his picture with the tooth.  He's funny.

DSCF9844

DSCF9846

Parker would probably tell me not to put this picture on here if he realized his "Dora the Explorer" band-aid was showing.  He is SO over her, but it's the only band-aid we have right now.  What?  In a house with all boys--they have each liked her for a while whether they admit it or not!  (Parker even wanted and had a Dora cake for his birthday when he turned three--he's seven now.  His favorite color was pink then, too.  Daddy is happy he got over that long ago)  Sweet Tooth Fairy Dreams, Parker! ;)
_______________________________________

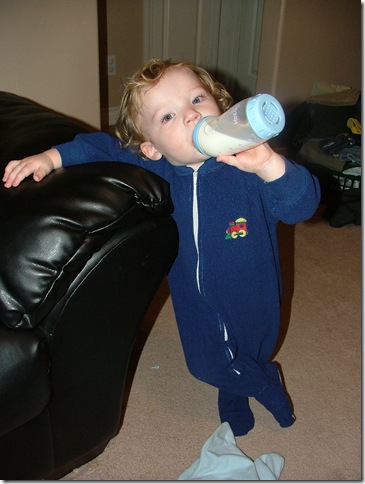
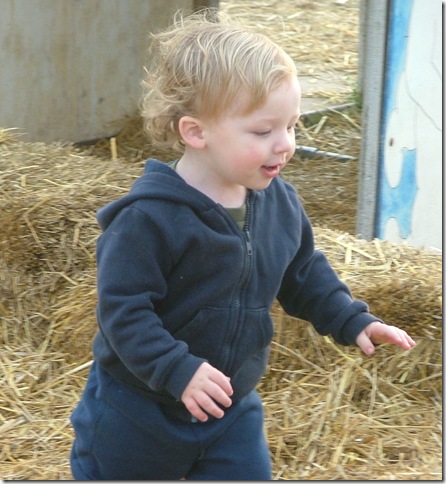
Darn, if we were only better at grabbing the video camera, tonight would have been some great footage of Sam.  I put some onesie jammies with the footies in them on him (it's getting a lot colder at night!) and he did NOT like them.  He was pulling at the feet and rolling on the floor in disgust.  It was TOO funny.  For a few minutes, he'd forgotten about them and was okay--with bottle in hand, so we did snap a few pictures, but the way he was acting if we'd have gotten it on film, he could have won America's Funniest Home Videos!  It didn't take him long to realize he was still in the "weird" jammies (none of the boys have ever liked this kind), and he started throwing a fit about it again.  We changed him so he'd be able to sleep.  I unzipped the front and let me try to take them off himself.  That was a sight to see, too!  We parents have a right to "torture" our kids now and then!  ;)
DSCF9849

Love the crossed legs!

Sunday, October 26, 2008

A Real Mouthful! Chocolate Orange Almond Toffee Cookies

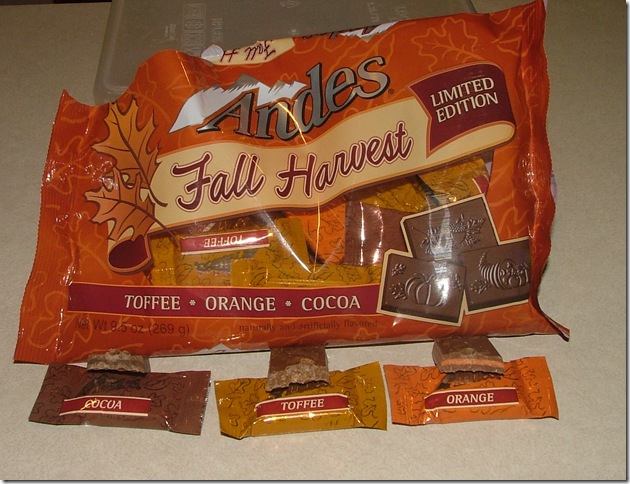
A few weeks ago I bought a bag of these:

DSCF9440

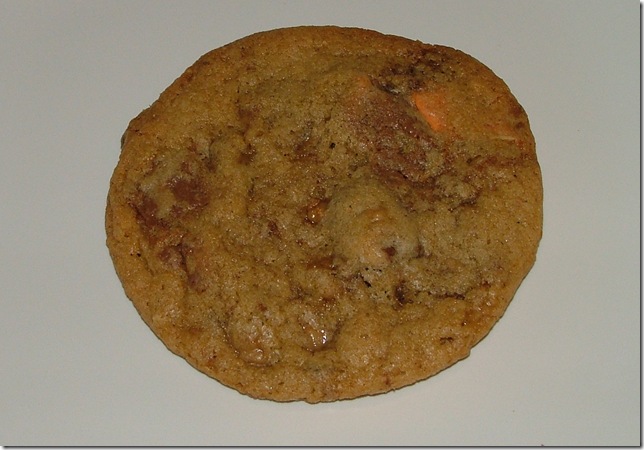
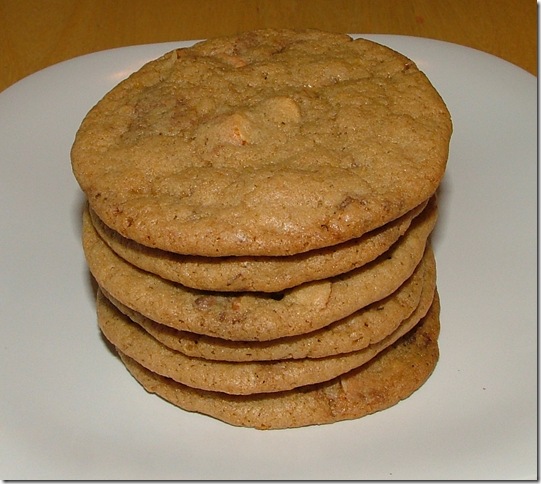
I knew I wanted to do something yummy with them.  Well, that meant it had to be cookies, of course!  I made a really crisp, chewy, buttery cookie that I think turned out perfect for the flavors that went in to it.  I felt that these cookies were dangerous to have around because I thought they were really good, so I've given most of them away! 

DSCF9839

Chocolate Orange Almond Toffee Cookies (adapted from Dorie Greenspan's Chewy, Chunky Blondies from Baking From My Home To Yours)
2 sticks unsalted butter, softened

1 1/2 cups brown sugar (I used dark as that's all I had, dark or light would be fine)

1/2 cup granulated sugar

2 large eggs

1 teaspoon vanilla extract

2 cups all purpose unbleached flour

3/4 teaspoon baking powder

1/2 teaspoon baking soda

1/2 teaspoon salt------and now for the mix-ins--and there's a lot of them, but that's what makes the cookies

1 cup Andes toffee chocolates, chopped

1/2 cup Andes orange chocolates, chopped   (these amounts are because of what quantities were in the bag)

1/3 cup Andes cocoa chocolates, chopped

1 cup Hershey's milk chocolate with almonds, chopped

1/2 cup toffee bits

1/2 cup almonds, toasted and chopped

1 teaspoon orange zest

2 teaspoons orange juice

Preheat oven to 325 degrees.  Line baking sheets with parchment paper, set aside. 

In bowl of mixer, cream together well (about 2 minutes) the butter and sugars.  Scrape sides of bowl.  Add vanilla and eggs and beat well.  In medium sized bowl, combine flour, baking powder, baking soda and salt.  Whisk to combine.  Add to creamed mixture just until incorporated.  (I often even mix half the dry ingredients in by hand with a wooden spoon or spatula.)  Stir in all the mix-ins at once. 

Drop by tablespoonfuls or using a cookie/ice cream scoop onto parchment lined baking sheets.  Bake for 12-15 minutes.  Remove from oven and allow to cool on baking sheets for five minutes, then remove cookies to cooling rack.  (I made 18-2 oz. cookies and 21-3/4 oz. cookies.  You could also just bake these in a 9x13 greased pan for 30-40 minutes and have yummy blondies.)

DSCF9807

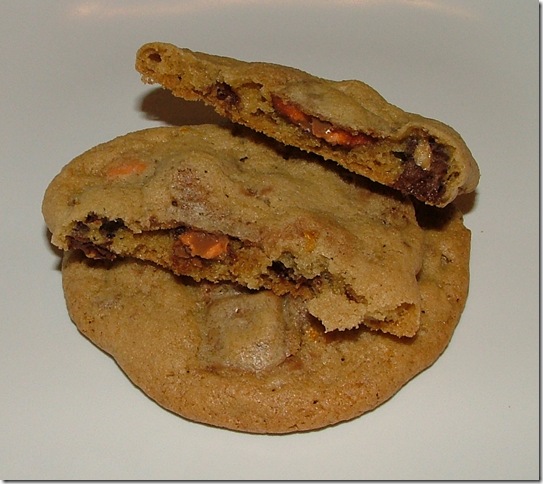
Besides the sweet chocolate/orange "candy" flavor, the zest and orange juice are great additions, but definitely not overwhelming to the toffee and almonds.  All in all, I thought these all made a great complimentary combination.  The cookies are crisp on the outside, chewy and buttery and chocolatey and nutty and I'm sure good for you since there is fruit in them! ;)  Get yourself a bag of these Andes Fall Harvest Limited Edition Chocolates and made some great cookies!  (And you thought Andes just did mints, didn't you?!)  I did.

DSCF9812

Go get a tall glass of milk for these babies!

DSCF9817

Saturday, October 25, 2008

Bacon-Wrapped Chicken Stuffed with Spinach and Ricotta

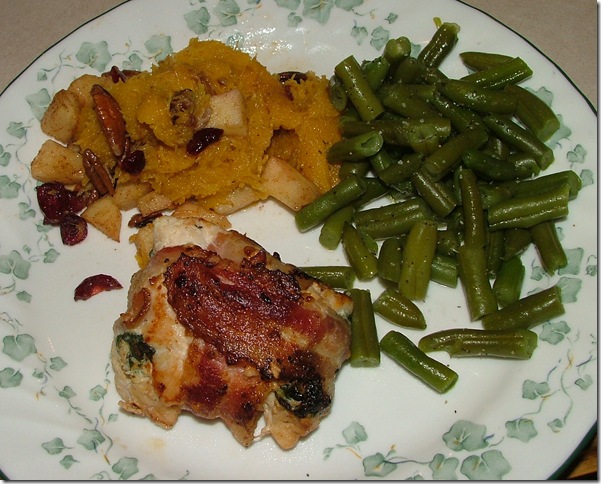
What?  How'd that get on my baking blog?  Well, I just want ya'll to know that I do cook, too!  I'd been feeling like I was making the kids eat hot dogs and Kevin fend for himself a little too often and after I found this recipe I knew I wanted to make it.  This was really good!  Even the kids liked it!  So even though I didn't take very many pictures or any that were all that great, I wanted to share this yummy chicken recipe with you.

Bacon-Wrapped Chicken Stuffed with Spinach and Ricotta (from Allrecipes, adapted by Katrina)

2 tablespoons olive oil

2 teaspoons (2 cloves) garlic

10 oz. washed fresh spinach (I only used about 8 oz.)

4 skinless, boneless chicken breast halves

8 oz. ricotta cheese

2/3 cup grated Parmesan cheese

1/2 teaspoon onion powder

2 teaspoons Italian seasoning (I used oregano)

salt and pepper to taste

bacon (the recipes says 8 slices, I used more than that)

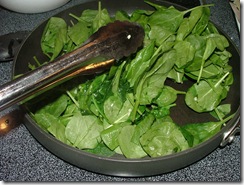
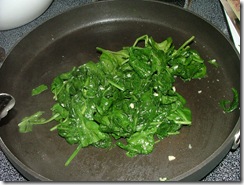
Preheat oven to 350 degrees.  Heat oil in a large skillet over medium heat.  Add garlic, cook and stir just until it becomes aromatic, 30 second to 1 minute.  Quickly stir in spinach and continue cooking until the spinach has wilted.Transfer the mixture into a bowl and set aside to cool.

Slice through each chicken breast horizontally but not all the way through.  Open the meat like a book.  Place each opened chicken breast between two pieces of plastic wrap and pound to a thickness of 1/4 inch. 

Stir the ricotta cheese, Parmesan cheese, seasonings and onion powder into the cooked spinach until blended.  Lay each chicken breast out and evenly divide the spinach mixture among the chicken, then roll each into an oblong shape.  Season with salt and pepper, sprinkle with Italian seasoning .  Wrap each breast with 2-4 pieces of bacon and secure with toothpicks.  (You'll see in my photos, I did some full breast size and some cut in half.  I wish I would have done them all the smaller size, but they both worked.  On a few I was having a hard time getting all the stuff to stay inside, so I just kept wrapping it in bacon and securing it with toothpicks.  It worked great.)

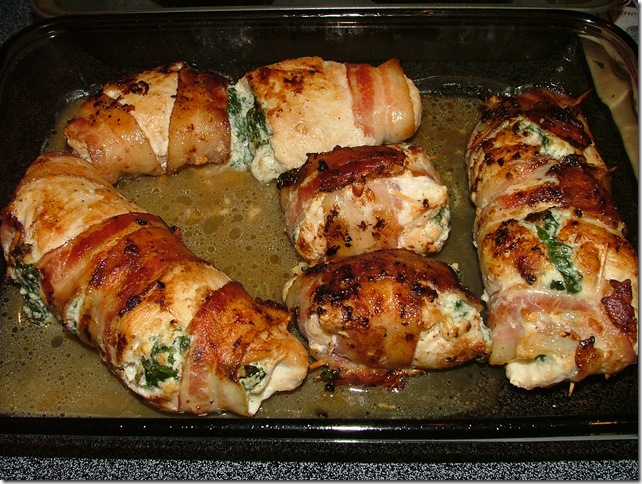
Put them in a heated non-stick skillet (No need to oil, as plenty comes out of the bacon!)  Brown on all sides, 10-15 minutes.  Transfer pan (oven safe, or transfer to a baking dish) to oven and bake 15-20 minutes.  Slice through a piece to make sure the chicken is no longer pink.  Remove from oven and allow to rest 5 minutes.  Remove toothpicks before serving.

DSCF9781  DSCF9783

DSCF9786

Shh, don't tell anyone, but I'm not the biggest bacon lover.  I don't love to just eat piece after piece of it, but I did really like the flavor it gave to this chicken (I still pulled the bacon off my piece and just ate the chicken.)  The combination of the bacon flavored chicken and that yummy cheese/spinach filly was SO good.  Like I said, the kids even really liked it.  The smaller pieces were perfect sized wrapped bundles of goodness!

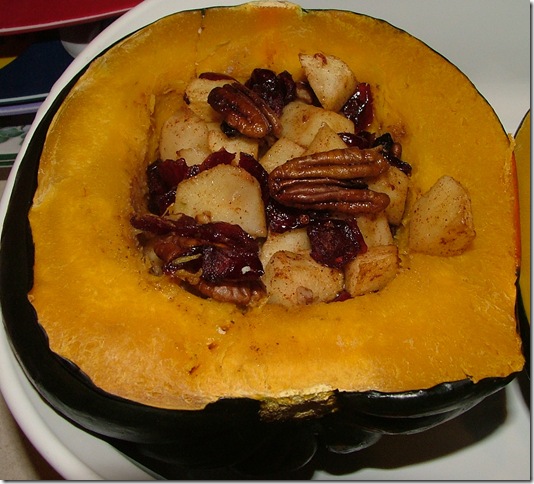
To serve with this delicious chicken, I also made some acorn squash with cranberry apple stuffing.  I got the recipe for this here at Elana's Pantry

Acorn Squash with Cranberry Apple Stuffing (adapted)

1 acorn squash

1 apple (I used honey crisp), peeled, cored and chopped into 1/4 inch pieces

1/4 cup dried cranberries

1/2 teaspoon cinnamon

1-2 tablespoons chopped pecans

1 tablespoon Smart Balance Buttery Spread, melted (you can use butter or oil, too)

Cut squash in half and remove pulp and seeds.  Place squash in a large Pyrex baking dish, cut-side down.  Pour 1/4 inch hot water into dish.  Place dish in oven and bake for 30 minutes at 350 degrees.

Combine chopped apples, cranberries, cinnamon, pecans and butter.  Remove squash from oven after the 30 minutes.  Turn halves over and stuff center of each with apple mixture.  Return to oven and bake 30-35 minutes until squash and apples are tender.

DSCF9788 

I actually only stuffed one half of the squash as Kevin doesn't like fruit mixed with "savory".  I LOVE IT.  Scott loves squash.  I think he had seconds or thirds.  So, I do make meals--I don't just bake.  In fact, I didn't bake anything today!  (Helps that I was gone all day.)  Back to baking tomorrow, got a few things up my sleeves!  You gotta try this chicken!

DSCF9791

Wednesday, October 22, 2008

PUMPKIN PATCH FUN!

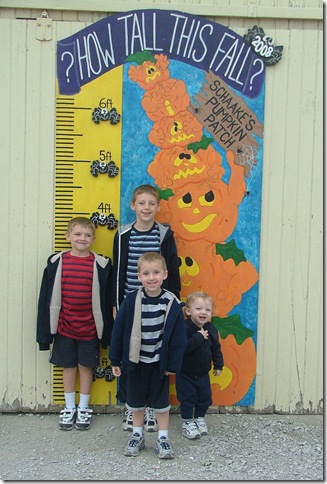
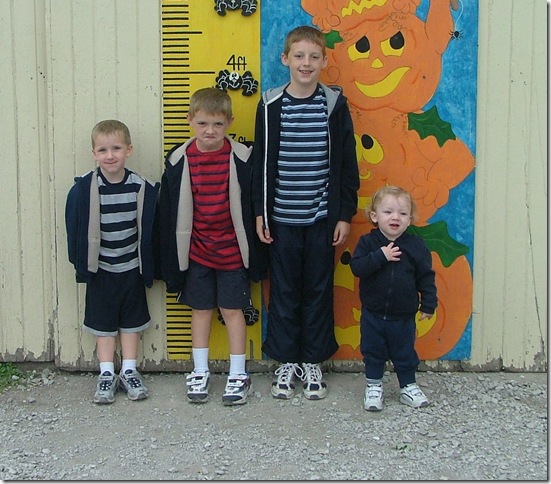
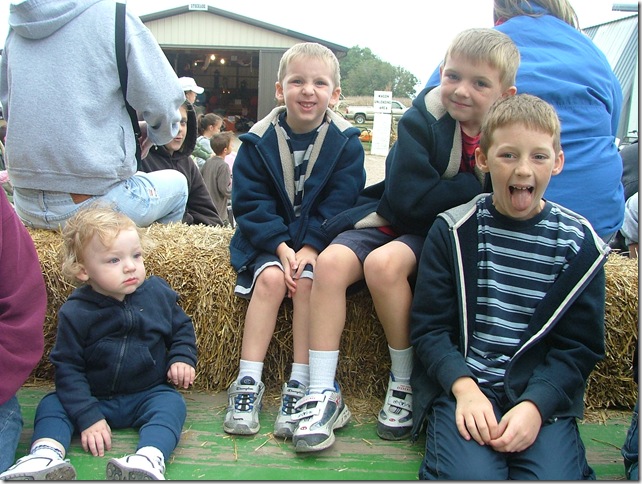
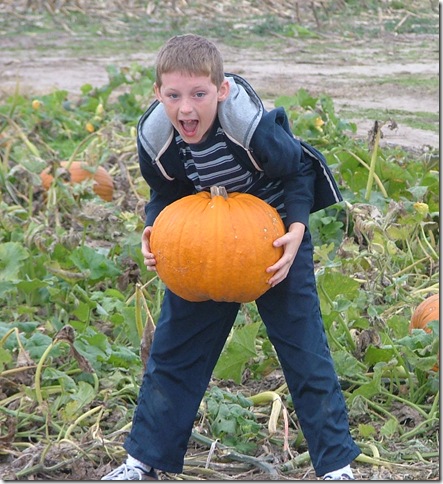
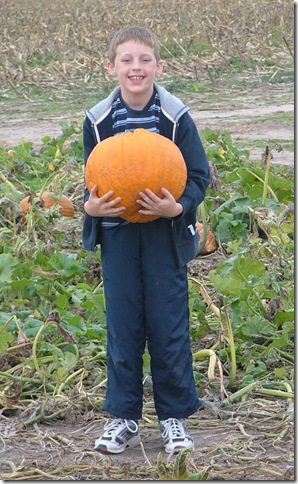
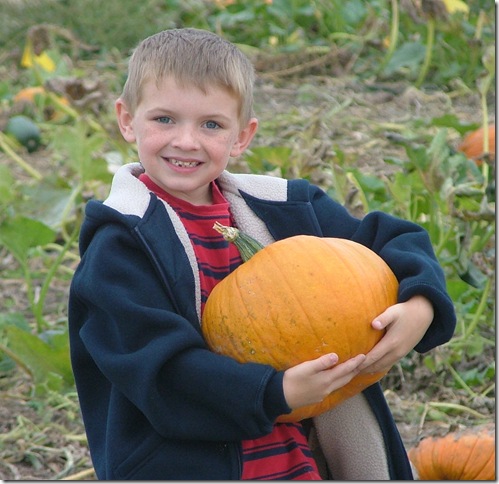
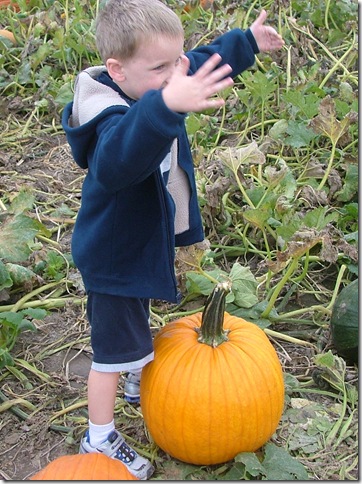
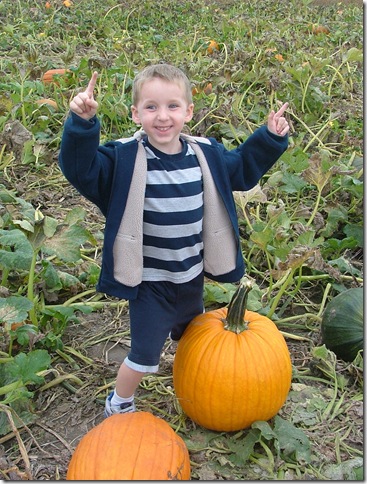
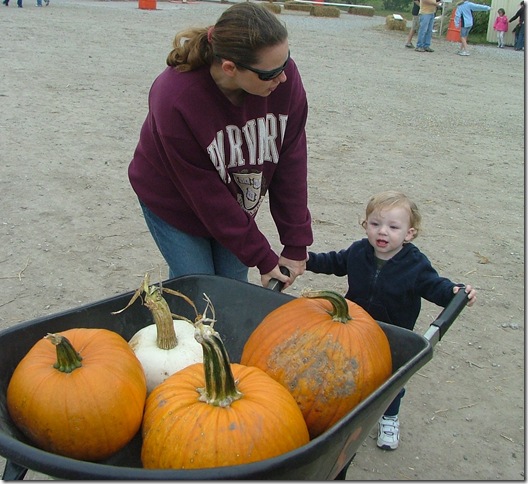
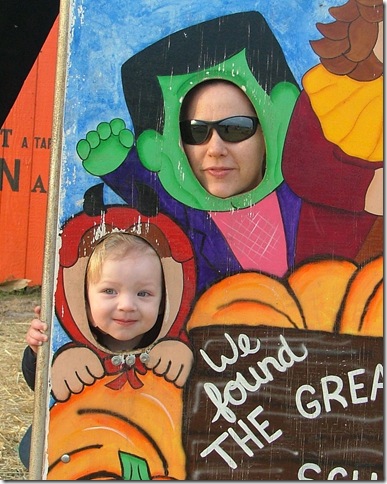
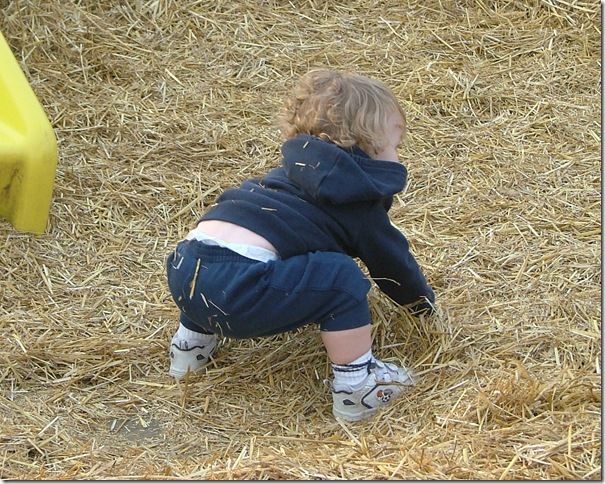
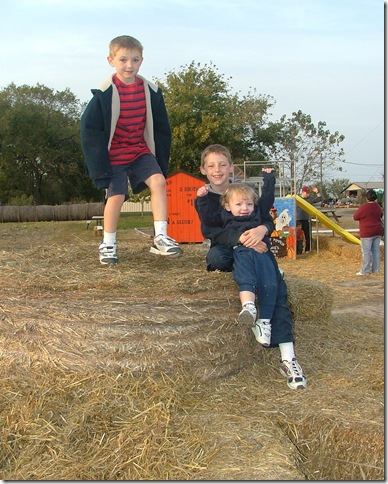
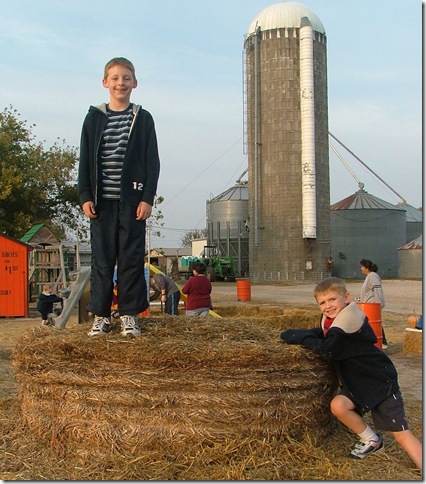
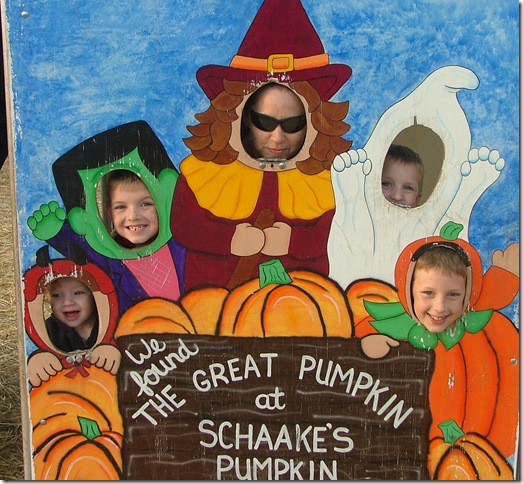
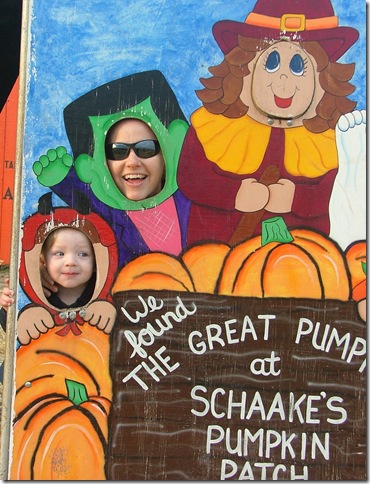
We took the kids to a local pumpkin patch on Monday after school.  They had a blast!  It was a great, fun, perfect fall activity.  Every year I've been able to go with whoever is in preschool at the time, but I always forget the camera.  Well, here's a few pictures for your viewing pleasure!

DSCF9727

DSCF9730

Taylor, Parker (being silly), Scott, and Sam

DSCF9733

A hayride out to the pumpkin patch.

DSCF9734

The hunt for the perfect pumpkin.

DSCF9735

Ahh ha!  "I think I've taken my back out!"  just kidding--got it!

DSCF9736

DSCF9737

"Got one!"

DSCF9738

"It was THIS big!"

DSCF9739

DSCF9742

Sam helped push the wheelbarrow.  (75 pounds of pumpkins!)

DSCF9744

DSCF9746

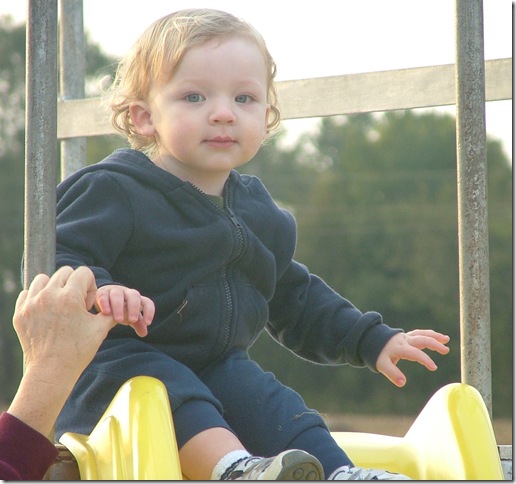
Again!  On this slide the kids would land right on their bums with quite a thunk into the hay.  Sam enjoyed it.

DSCF9748

DSCF9750 DSCF9751

I couldn't resist putting both of these up because of Sam's cute little face!         More sliding!

DSCF9753

DSCF9754

DSCF9755

King of Hay Hill!

DSCF9756

Scott is almost as tall as the silo!

DSCF9758

DSCF9760

DSCF9762

And finally, Happy Pumpkin Picking and Happy Autumn!  Thanks for being a great photographer, Kevin!

Tuesday, October 21, 2008

TWD Pumpkin Muffins

Today's Tuesday's With Dorie recipe was pumpkin muffins--festive for fall!

This recipe can be found on page 13 of Dorie's book, Baking From My Home To Yours.  You can also find this recipe here.  It was chosen by Kelly at Sounding My Barbaric Gulp.  Good seasonal choice!

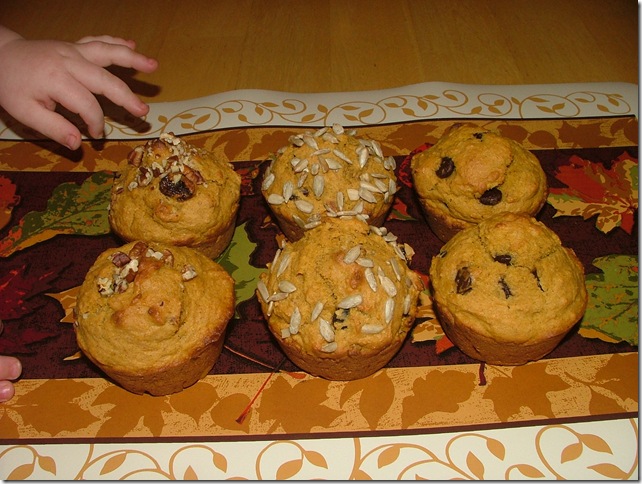
DSCF9703

I had to use this picture, because how cute is Sam's little hands reaching for a muffin!  And then if you look closely on the next one, his little nose and mouth sneaking in there!

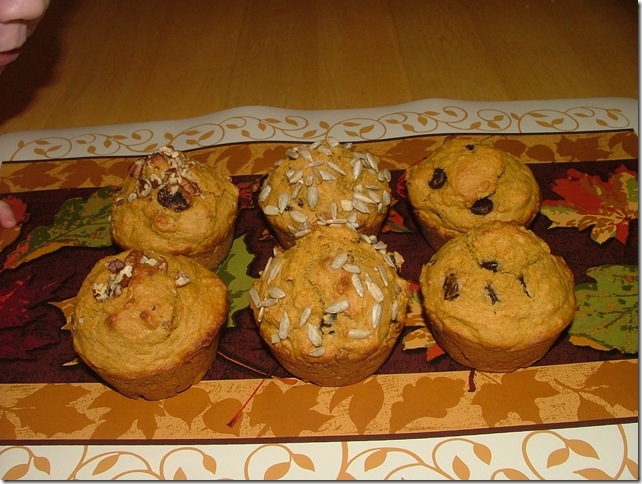
DSCF9704 

I opted to change a few things in the recipe because I just can't talk myself in to putting a whole stick of butter in 12 muffins when I know they are good much lighter.  SO, the changes I made from the recipe you can get on Kelly's link above or in Dorie's book are that I used 1/4 cup butter and 1/2 cup unsweetened applesauce instead of 1/2 cup butter.  I also used 1 cup unbleached flour and 1 cup whole wheat pastry flour instead of 2 cups all purpose flour.  I used 1/2 cup Egg Beaters w/touch of yolk instead of 2 large eggs, and 1/4 teaspoon of pumpkin pie spice in place of the nutmeg and allspice (I can't find my nutmeg!)

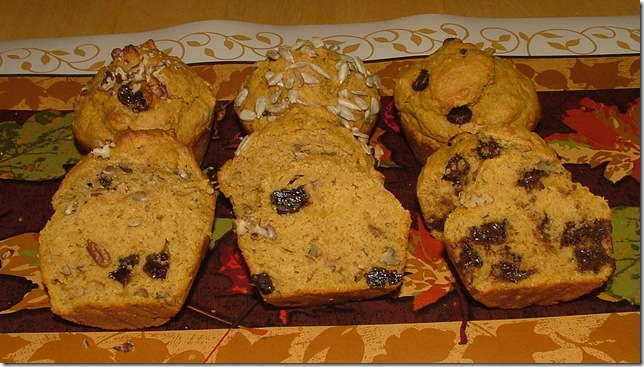
With half the batter, I used the mix-ins that Dorie suggests, pecans and raisins.  With the other half of the batter, I added 1/2 cup semi sweet chocolate chips.  Since I have a pumpkin cookie with chocolate chips, I already knew it would be good and although the pecans and raisins WERE good, I wish I would have just done the whole thing with chocolate chips--there's just something about that combo!  I would have covered all the muffins with sunflower seeds, but mine were salted and roasted and seemed a little stale, so I'm glad I only did two muffins.  The other four from the half nutty batch, I sprinkled some pecans on top and left the six chocolate chip muffins as is--they didn't need anything else!  Good muffins, thanks for the pick, Kelly!

DSCF9714 

On another note, I'm SO bummed!  I have been waiting for my 100th post to come up and at last count, I had 69.  I remembered to check yesterday and doggone it, this is my 112th post!  Oops!  I meant to make a big deal of it and have a giveaway and such, but will have to wait on that.  Come back, the giveaway may be soon! ;)

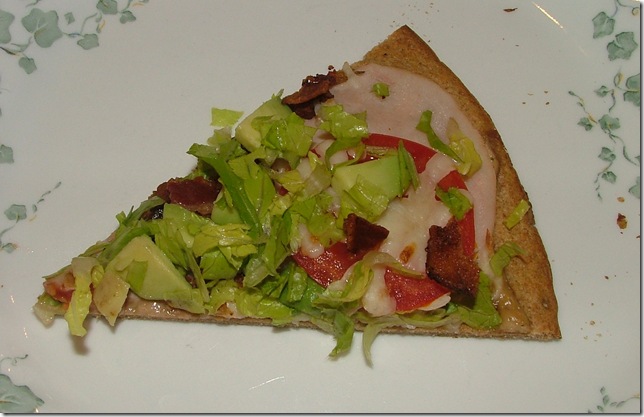
And look at this pizza I made on Sunday.  I got the idea from fellow food blogger, Lisa at Jersey Girl Cooks, when she made and posted a good lookin' BLTA sandwich recently.  I loved that she mixed balsamic vinegar, mayo and avocado together for the spread on the sandwich, so I put some balsamic in some mayo and spread it on the whole wheat thin crust pizza crust I'd bought.  I then covered that with some deli turkey, a bit of Kraft 2% Mozz. cheese (only about 1/2 cup for the whole pizza), sliced tomato, pieces of crumbled bacon, some chopped avocado and lettuce. (I broiled it in the oven for about five minutes to melt the cheese before adding the avocado and lettuce.)  I really liked it!  Thanks for the idea, Lisa, I will probably always add a little balsamic to my BLT mayo now and can't wait to try the avocado spread on a sandwich!  Yum!

DSCF9700