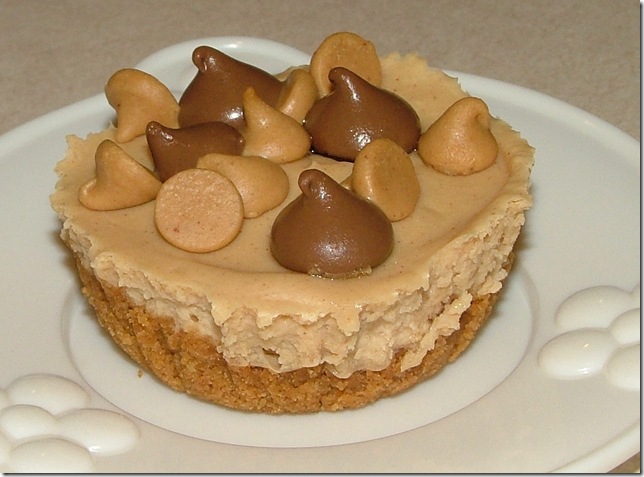
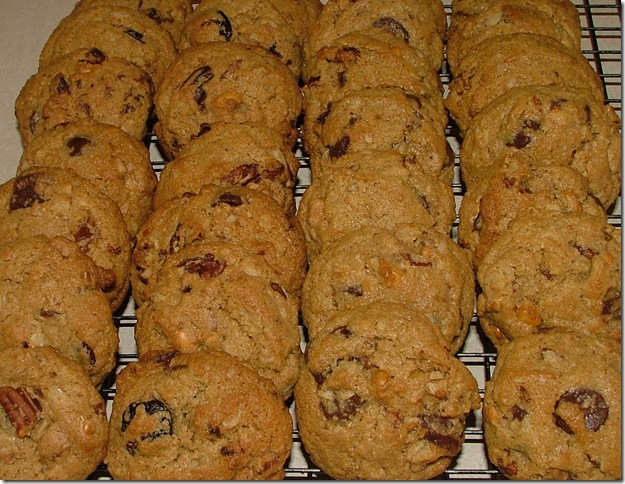
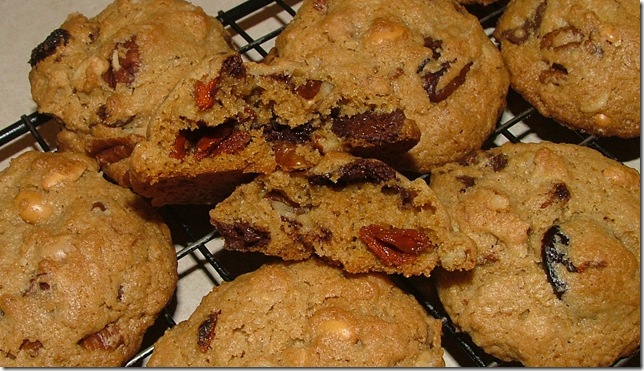
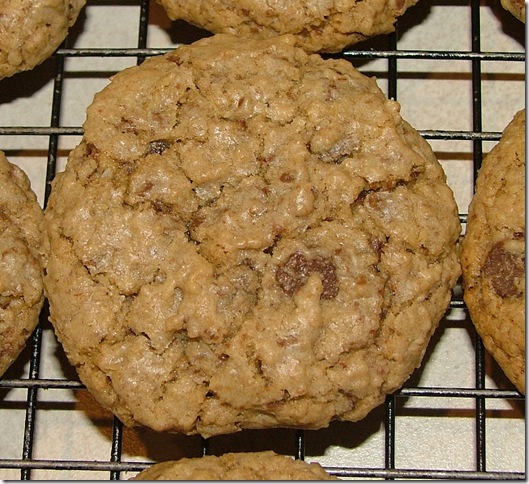
I am so excited about these. For one, I totally thought of it on my own, second, I made the recipe up myself and, third, THEY ARE SO GOOD! Quite the feat for me, since I usually just make other's recipes and/or just change a few things up. I have to be careful with these and give them away soon because Kevin doesn't love peanut butter that much, so he probably won't eat them, but since they are just cup size, I will use that as an excuse to just keep having one. My boys don't seem to like cheesecake all that much, so they probably won't like them either. Hmmm, who's gonna be the lucky ones to get a few?!
Here's the recipe!
Peanut Butter Dream Cheesecake Cups
1-8 oz. pkg. Nutter Butter Bites (the mini ones)
2 tablespoons butter, melted
2-8 oz. pkgs. cream cheese, softened (I actually used 1 that was 1/3 less fat and one that was fat free because that's what I had-so could these be considered low fat? Hmmm.)
1/2 cup sugar
1/2 cup Egg Beaters with touch of yolk (also less fat!) (or could use 2 large eggs)
1 teaspoon vanilla extract
1/4 cup peanut butter (I used Skippy Natural)
peanut butter chips and milk chocolate chips for topping (mini Reese's PB cups would be good, too!)
Preheat oven to 350 degrees. Prepare cupcake liners. This recipe made 15 cakes perfectly. I actually used the liners that have foil on the outside, so they don't need to be in a muffin tin. Worked great.
Pulse cookies in food processor until fine crumbs. Add melted butter and pulse a few more times until all incorporated.
Add one heaping tablespoon of crumbs to each cupcake liner. (There's just a little left, maybe 1/4 cup, I used for sprinkling on the tops of the baked cheesecakes.) Flatten each into cup shape with back of spoon. Set aside.
Wipe out bowl of food processor and add the cream cheese. Pulse until creamy. Add sugar and vanilla and pulse until smooth and well mixed. Scrape sides of bowl and add eggs and combine until creamy.
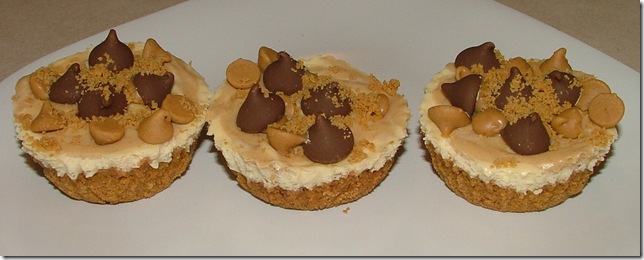
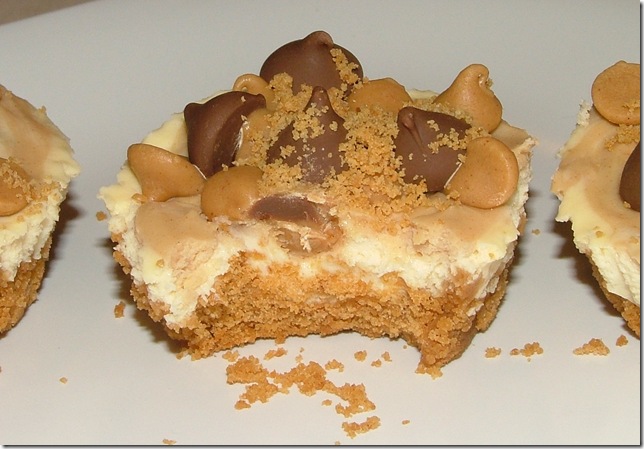
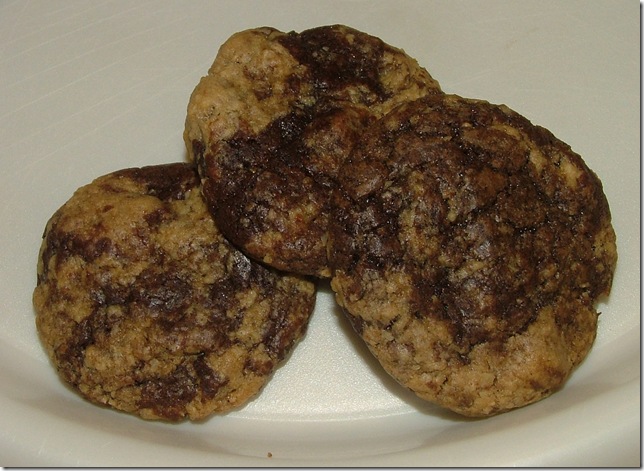
Add 2 (heaping) tablespoons of cream cheese mixture to each cup. Spread so it covers the crumb mixture. After this, there is about 1 cup (give or take) of the cream cheese mixture left. Add 1/4 cup peanut butter to mixture and again pulse in food processor until smooth. Add 1-2 teaspoons of this mixture to top of each cheesecake. I did this by putting the mixture in a piping bag and squirting it over each in a squiggly pattern. I wanted to get a marble effect with this top layer. After each had the peanut butter mixture on top, I carefully cut it in with a knife, swirling it together. (I also did a few with just the peanut butter cream cheese mixture and I may just add 1/2 cup peanut butter to the whole cream cheese mixture next time and not bother with the swirling/marble effect. But it does look nice, just liked the more intense flavor of the peanut butter mixture better.)
Bake for 18 minutes or until no longer shiny looking and you can touch the middle of the cheesecake without any getting on your finger. Remove to cooling rack. Sprinkle with peanut butter and milk chocolate chips. Let cool. When cool, refrigerate. The longer the refrigeration, the better these get.
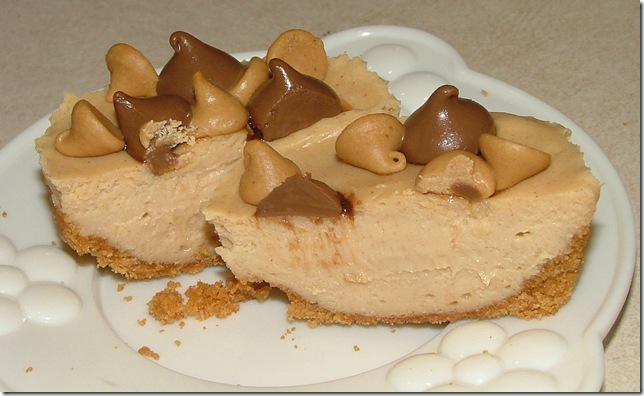
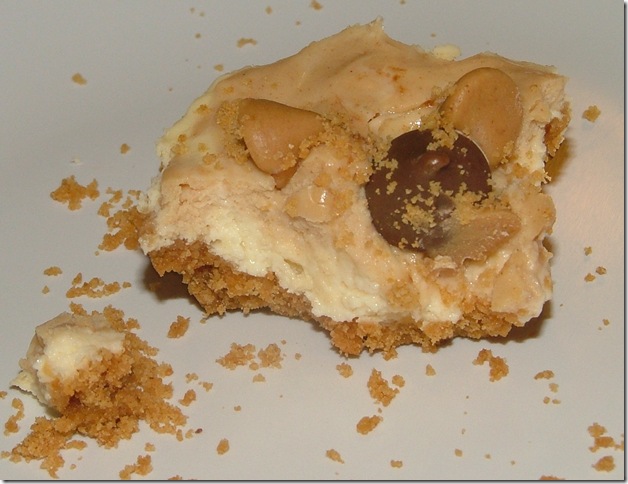
This one above is only about 30 minutes out of the oven, when cool enough, I popped it in the fridge. I REALLY just wanted to try them. This one was made with just the peanut butter mixture. I cut it into about five bites and shared it with the family. Kevin had a friend over, who really liked it, as I did. Kevin just isn't the best person to ask about a peanut butter treat. (Crazy guy!) Did I mention that I really liked it?! I knew they would only get better with age.
The marble effect wasn't enough contrast, which is why I'd just do them all with the peanut butter mixture next time. And there will be a next time. A good 1/2 cup peanut butter or maybe even 3/4 cup added to the 2 pkgs. cream cheese would probably work great. The peanuttery buttery crust is SO good and the chips on top just add the over the edge-ness to them. I added the chips and THEN refrigerated them. They melted slightly when I added them right out of the oven, then hardened up in the fridge, which made biting in to them a little messy/tricky. But hey, food SHOULD be fun and messy and these are worth every bite!
Yum! Want some? Hurry. They aren't going to last.

