January 15, 2012
Homemade Ciabatta Rolls
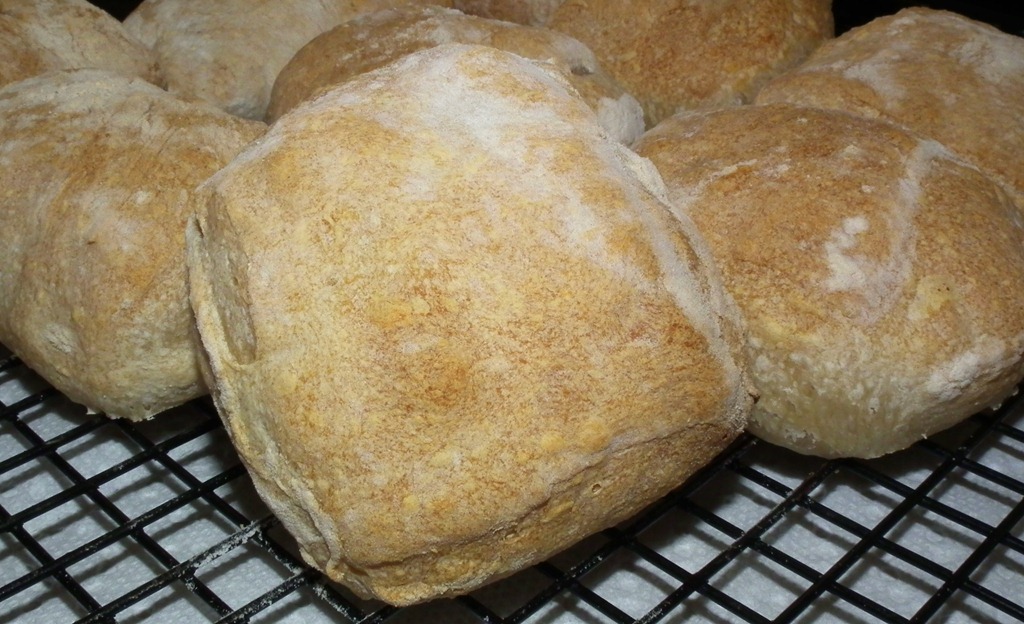
I recently made homemade ciabatta rolls. They were actually quite simple to make. There are a few steps involved and some time (you start making the dough the day before you want to eat the rolls), but mostly you can do what you want while the dough does “i
I recently made homemade ciabatta rolls. They were actually quite simple to make. There are a few steps involved and some time (you start making the dough the day before you want to eat the rolls), but mostly you can do what you want while the dough does “its thing”.
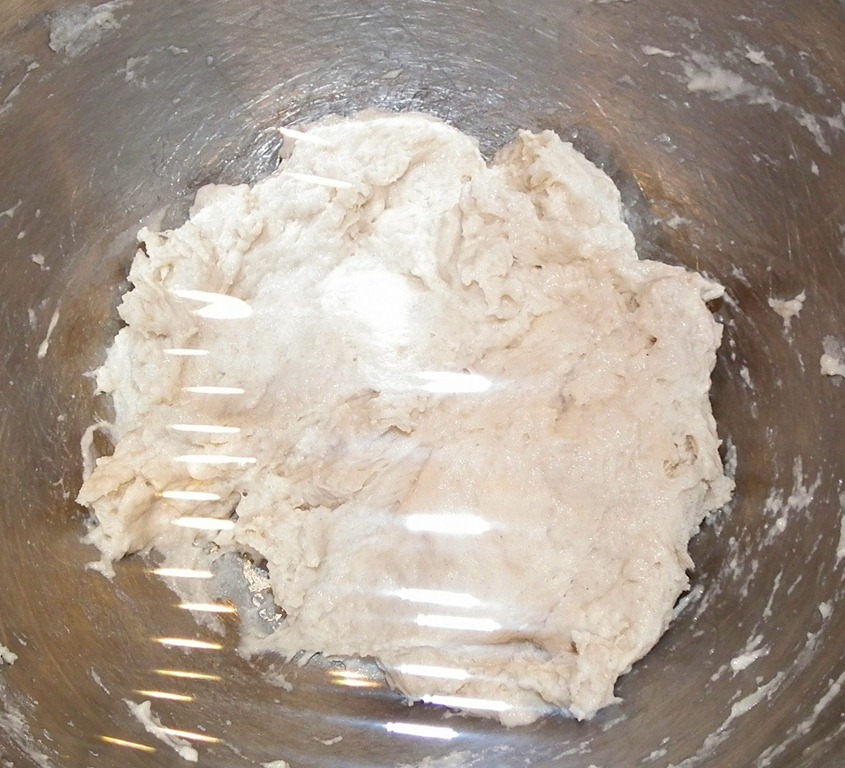
First thing, I didn’t know this, but you start by making a starter called biga. It’s simple. After you mix up a few things, it rests overnight (and you do, too). The biga just has some water, yeast and flour, much like a starter for sourdough. For your enjoyment and learning, I took some photos of the process. You should feel quite special about that. ;)
Here’s the biga ready for it’s sleep time.
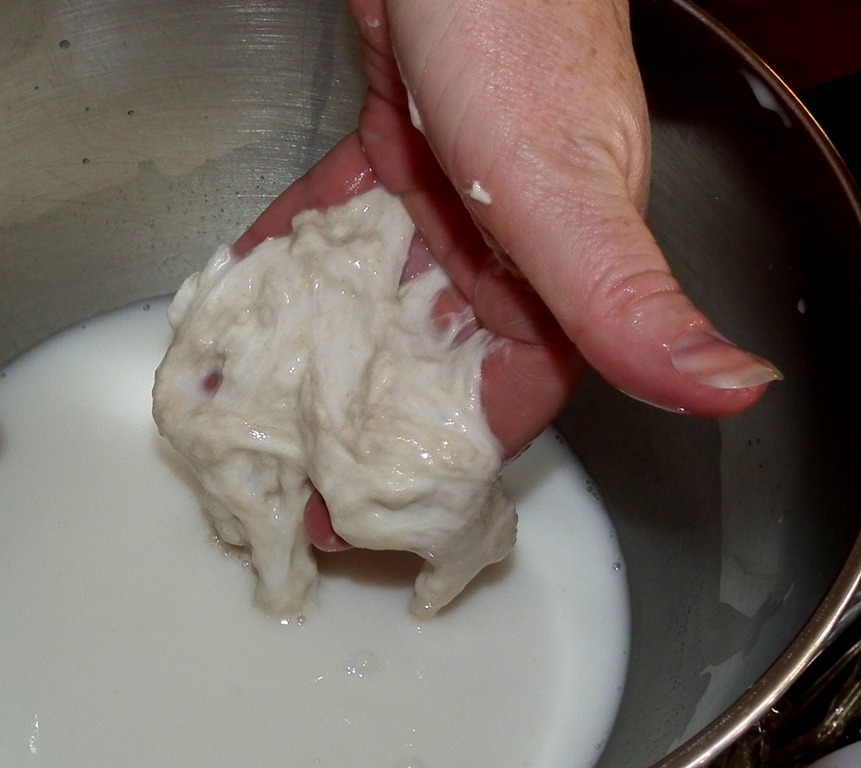
The next day, it’ll look kind of soupy (forgot that picture), but you’ll add the biga to some water and yeast and rub your fingers through it and loosen it up into stringy blogs. How fun is that!
After that, you just add some salt and the flour and stir (I let my Kitchen Aid do it all with the dough hook) until it becomes a thick, wet dough. After a short rest, you again let the mixer knead the dough for 15-18 minutes. Go about other business, but stay in the kitchen. With that mixer working away, it gets a bouncing just a little and you don’t want it to walk its way off the counter! That mixer is workin’ it.
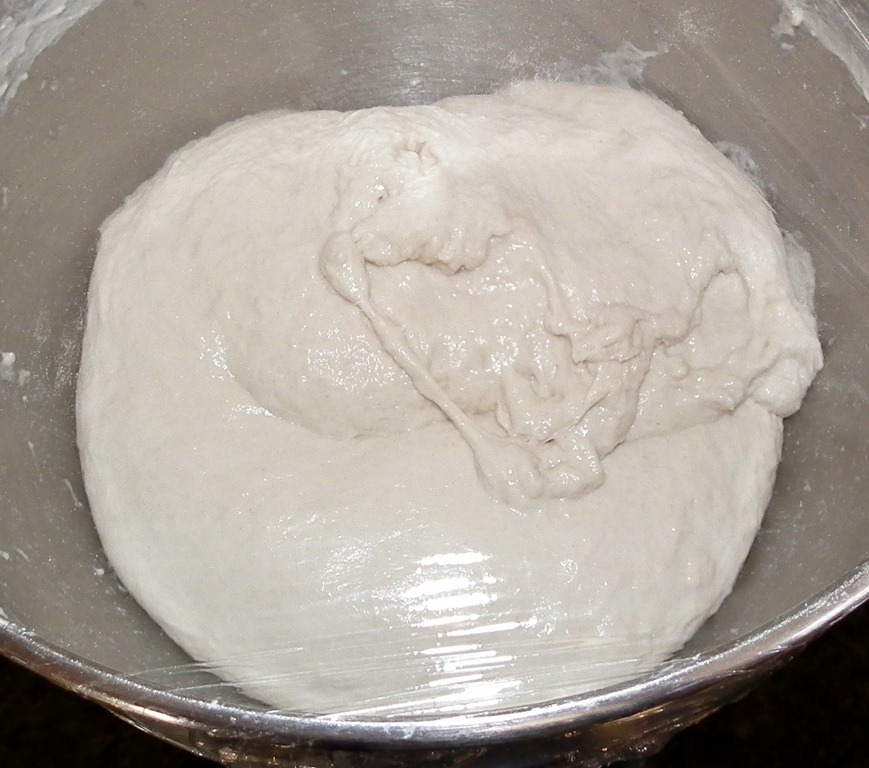
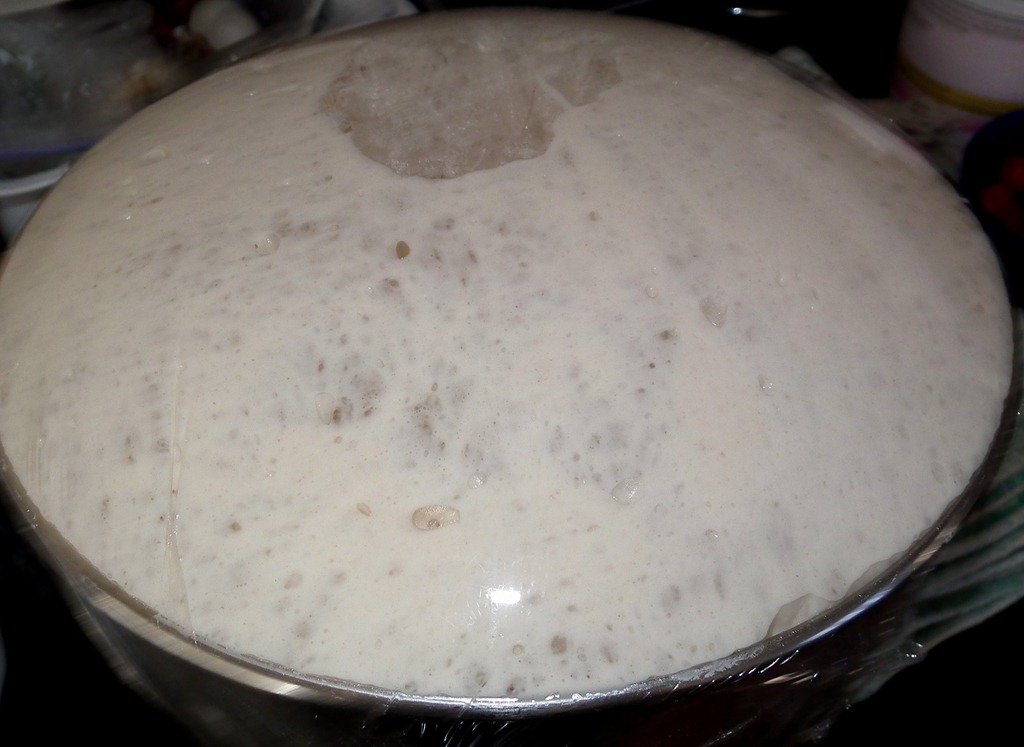
After it has kneaded itself into a beautiful dough, cover it and let it rise for 2-3 hours. It’s worth the wait! Here’s the dough after that first rise. I ran to the store when it was almost at the 2 hour mark and by the time I returned, it was ready to go, almost deflated a little, but it worked just fine!
The dough, with the help of a well-floured counter, forms beautifully.
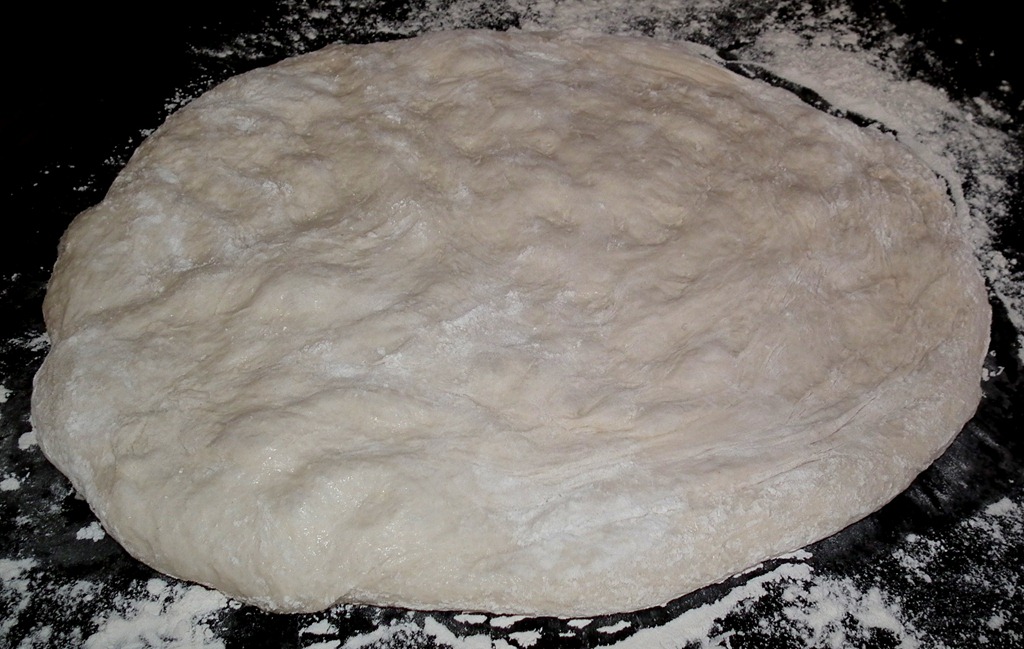
You could actually just bake it like this and cut or tear off pieces if you’d like. I wanted to make rolls, so I just cut it into rustic pieces and carefully moved them to a parchment paper lined baking sheet.
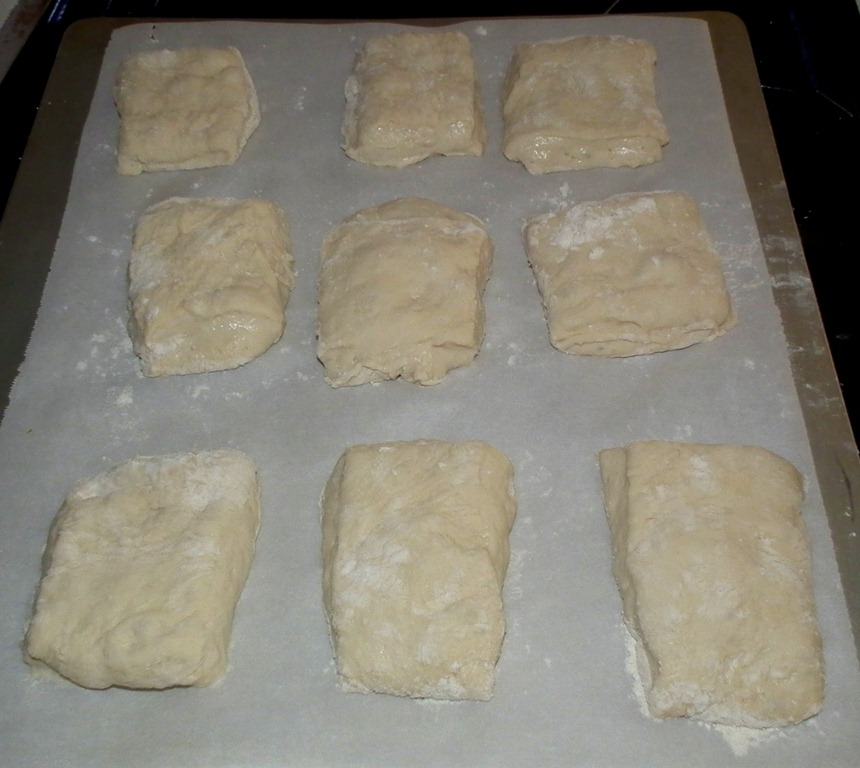 The dough is very soft and bubbly. Don’t deflate it, that’s what gives ciabatta that nice airiness. I just carefully moved each one with a flat knife and my fingers. I had two sheets full which was about 18 rolls. Use your fingers to dimple the surface of the dough and let them rise uncovered for just 30 minutes. Here’s a roll all ready for the oven!
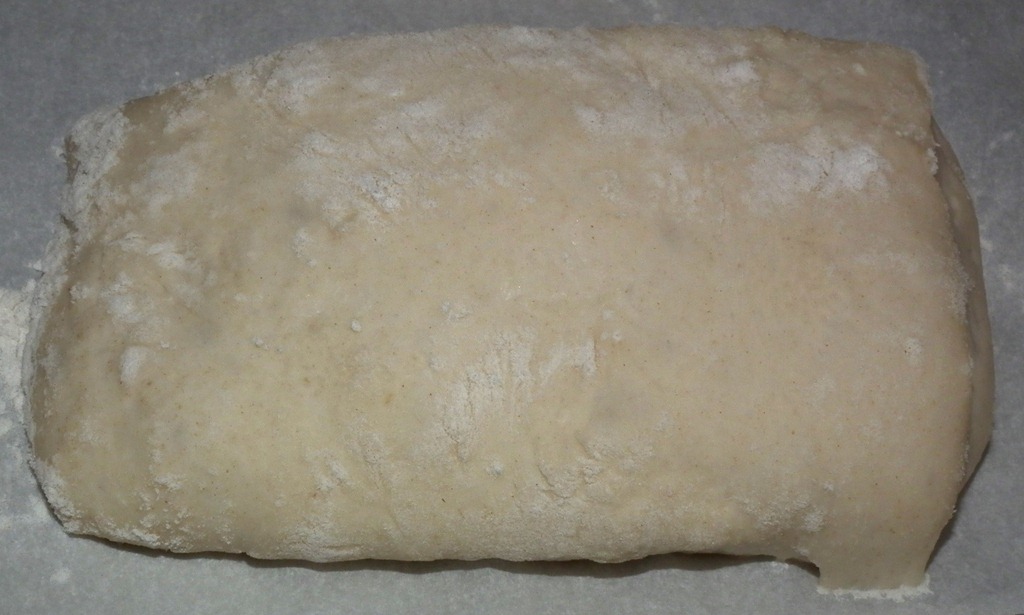
They are baked at a high temperature of 475 degrees which helps give them that nice crusty exterior!
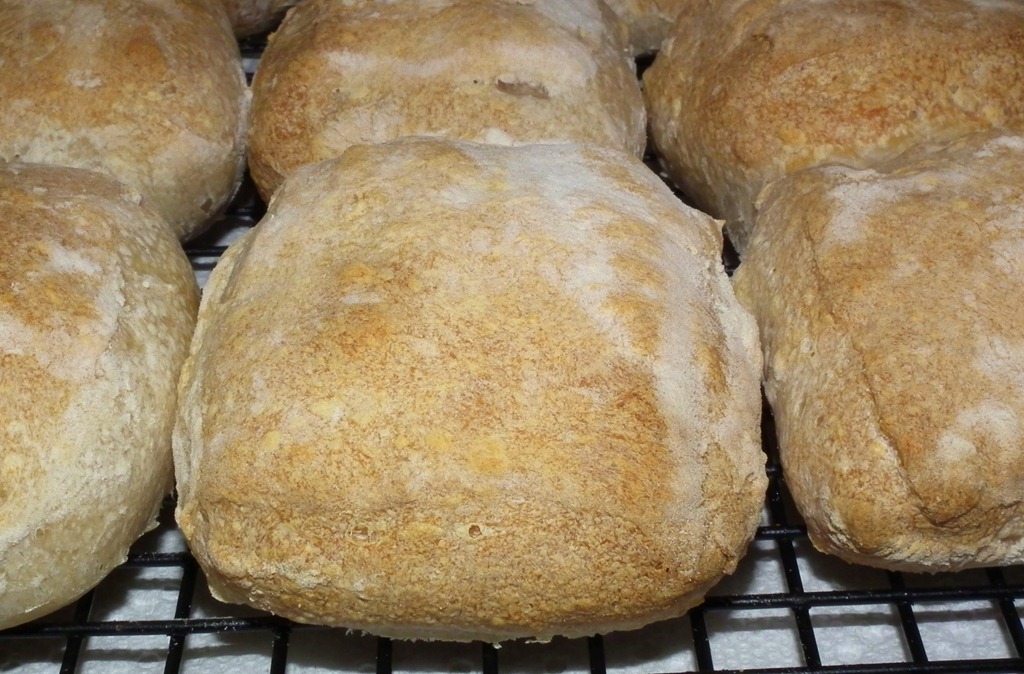
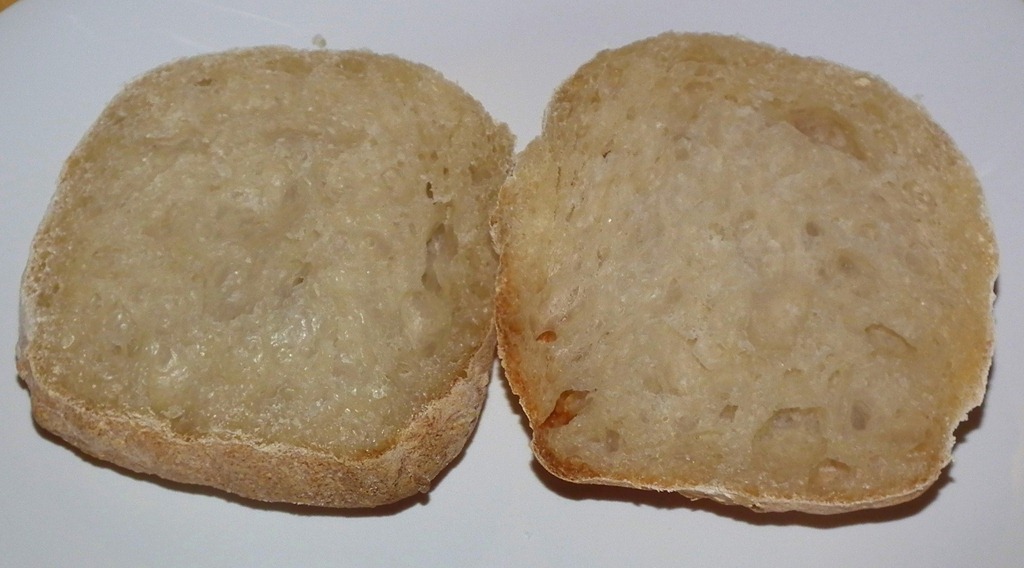
These made for some great barbeque chicken sandwiches, but were just as good slathered with some butter!
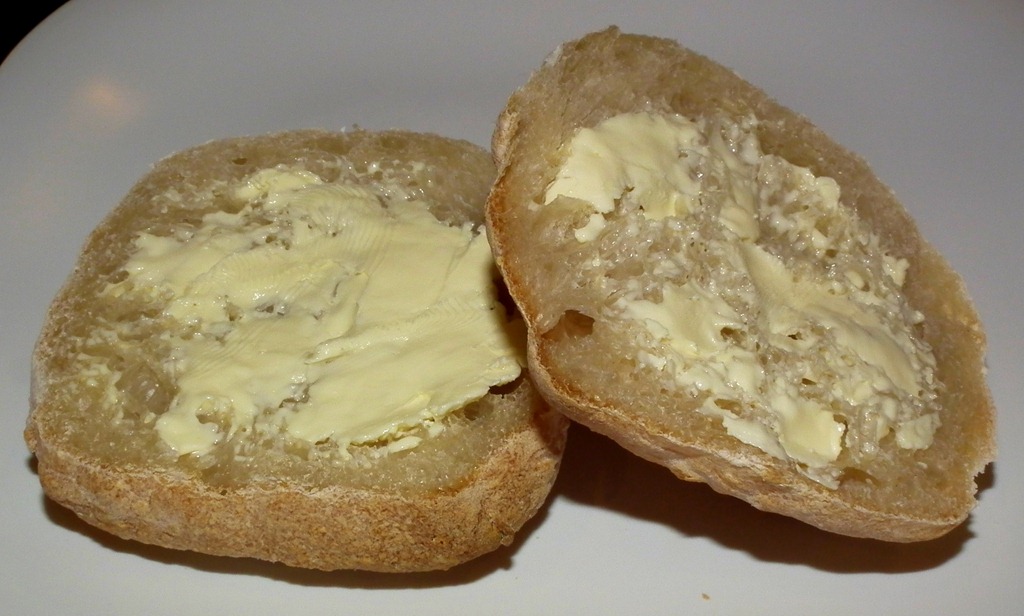
Wow! That’s a lot of pictures! I won’t do that to you every time. It’s just not me. But that was kind of fun to look back and see the progression of a ciabatta roll. Give them a try!
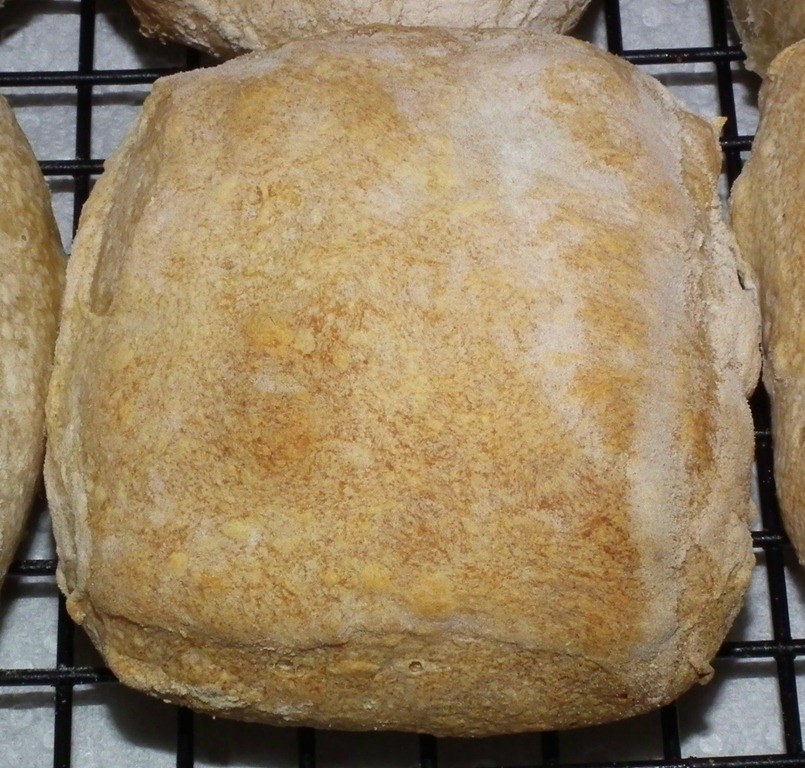
Okay, that’s all. Are ciabatta rolls ever made with whole wheat? I just might have to try that because I really only took a bite or two of one of these as I try to mostly only eat whole grains. (Oh yes, treats and desserts are an exception there!) More of that coming soon!
Oh, and the recipe for these rolls, I got from The Kitchn and followed it almost exactly, it a well-written post with lots of photos and tutorial that’s easy to follow.
Archived comments (26)