July 4, 2009
Happy Independence Day--I Scream, You Scream...
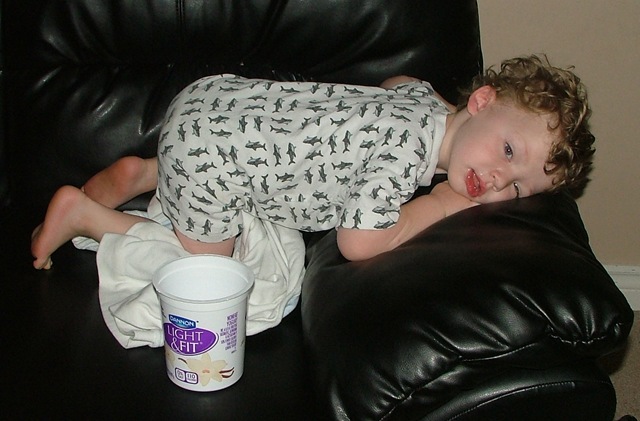
I'm SO grateful for the USA and what a wonderful country it is! Celebrate and be safe and give thanks for ALL you have. On that note, I'm not really sure what we'll end up doing--Sam has looked like this since he woke up from his nap Friday afternoon. (I'm w
I'm SO grateful for the USA and what a wonderful country it is! Celebrate and be safe and give thanks for ALL you have.
On that note, I'm not really sure what we'll end up doing--Sam has looked like this since he woke up from his nap Friday afternoon. (I'm writing this late Friday night.)
That yogurt container is his barf bowl. Yep, not sure why or what's up, but Sam woke up from his nap with a pretty high fever and has been barfing for hours. Mah poor bebe! I may be staying home with him while Dad and the boys go watch the fireworks. We'll see.
BUT--I Scream, you scream, nothing is more yummy and soothing than ice cream! Ahhh. I've been making some good ones!
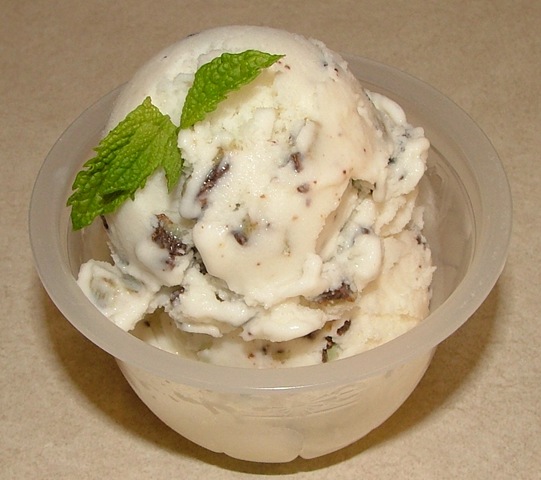
A refreshing Andes Mints Frozen Yogurt
I actually made most of this concoction (minus the mints) into another kind that I'll tell you about next week, but it was too much to all fit in the ice cream maker at once, so with about 1 1/2 cups of the yummy white liquid, I churned it until it was nicely thickened, then stirred in some Andes Mint pieces--just another thing that needed cleaning out of my storage.
Vanilla Fro Yo (Any add-ins welcome), by Katrina
1 cup fat free half and half
1 cup whole milk
1 1/2 cups fat free vanilla yogurt
1 cup whipping cream
2/3 cup sugar
Mix all these very contradicting ingredients (fat free and full fat--well, it made for some middle-of-the-road good stuff!) in a large bowl with a wire whisk. Pour into ice cream maker and freeze according to manufacture's instructions. Stir in add-ins. Transfer ice cream to an air tight container and freeze for at least two hours.
__________________________________________________________________________
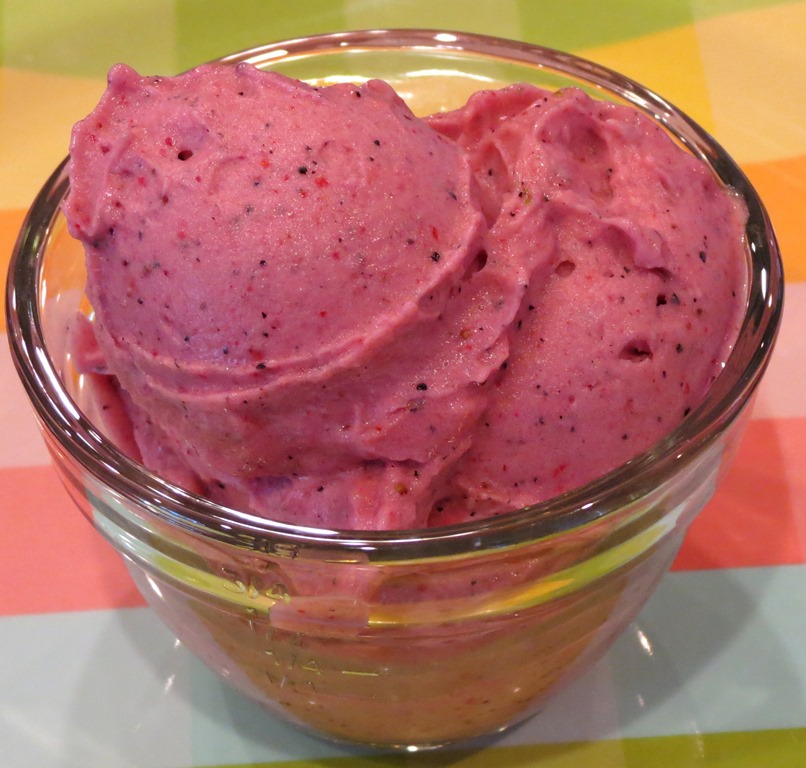
Yesterday I also made some refreshing Pink Lemonade Ice Cream. No, these are not all getting eaten as quickly as you might think, but the freezer is becoming well stocked! I got this recipe (which I adapted a bunch) from yet another great blog, Finding Inspiration in Food (although, many recipes for lemonade ice cream can be found all over the internet.) This is like a perfect lemon sherbet (How many of you out there pronounce it SHERBERT? I do. Kevin thinks me silly that I do, but it's always been sherbert and always will be, I'll even just ignore that the Windows Live Writer thinks that is not a correct spelling and has underlined it so rudely in red. Well, take this computer. I'm not changing it. Okay, I feel better now.)
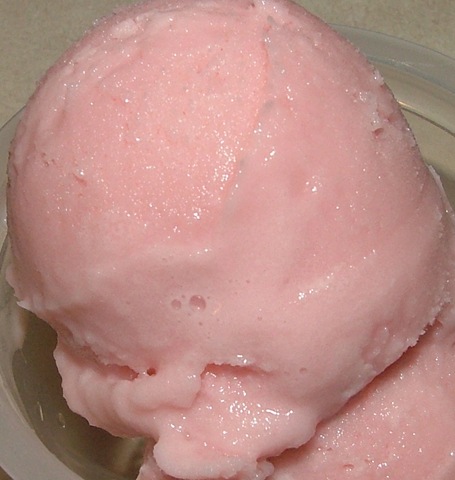
Katrina's Refreshing Pink Lemonade Sherbert
1 1/2 cups half and half
1 cup whole milk
1/2 cup agave nectar
1 can pink lemonade concentrate
1/2 teaspoon vanilla
pinch of salt
3 drops of red food color (optional for darker pink color--I did use it_
Combine all ingredients in a large bowl and whisk to mix thoroughly. Process in ice cream maker following manufacture's instructions. Put the thickened mixture in a air tight container and freezer at least two hours. Or enjoy it immediately in glasses with straws! It was like a really yummy, thick, tasty Slurpee. Be careful, this is the brain freezing kind of stuff! ;)
_________________________________________________________________________
And finally FOR NOW, last but certainly not least, today I made Peanut Butter Ice Cream with Chocolate Covered Peanuts. YUM! I found this recipe at Erin's blog, Dinner and Dessert. She used a recipe from David Lebovitz' book that I really need to get, The Perfect Scoop, but she added a little something that really kicked it up a notch!
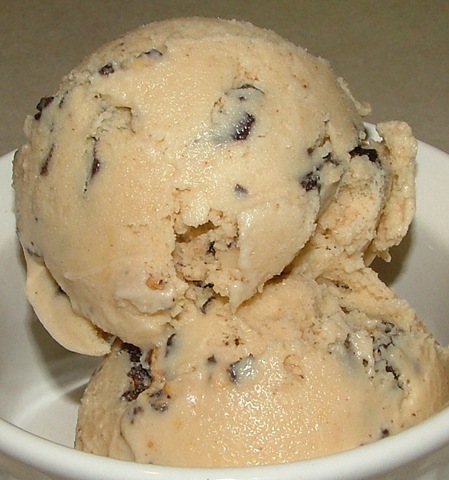
Peanut Butter Ice Cream, adapted with additions by Erin at Dinner and Dessert
Source: The Perfect Scoop by David Lebovitz (My ever-so-slight changes, suggestions and adjustments are in red.--Katrina)
¾ cup smooth peanut butter
¾ cup plus 2 tablespoons sugar
2 2/3 cups half-and-half
Pinch of salt
1/8 teaspoon vanilla extract
Chocolate Covered Peanuts (recipe follows)
Puree the peanut butter, sugar, half-and-half, salt, and vanilla in a blender or food processor (This will leak out all over the place in a food processor--just trust me and use the blender! It may even work to just whisk it well with a wire whisk or the whisk attachment of your mixer.) until smooth.
Chill the mixture thoroughly in the refrigerator (I did not chill it, everything was already cold!), then freeze it in your ice cream maker according to the manufacturer’s instructions. After churning, stir in Chocolate Covered Peanuts.
Chocolate-Covered Peanuts
4 ounces semisweet or bittersweet chocolate, chopped
1 cup roasted, unsalted peanuts (My peanuts were dry roasted, unsalted and I only used about 3/4 cup)
Put the pieces of chocolate in an absolutely dry heat proof bowl. Set the bowl over a saucepan of simmering water to melt the chocolate, stirring until smooth. In the meantime, stretch a piece of plastic wrap over a dinner plate. (I just melted it in a microwave safe dish, stirring every 20-30 seconds and I lined the plate with waxed paper and after spreading this chocolate peanut mixture on the plate, I stuck it in the freezer while the ice cream churned.)
Once the chocolate is melted, remove it from the heat and stir in the peanuts, coating them with the chocolate. Spread the mixture on the plastic-lined plate and chill.
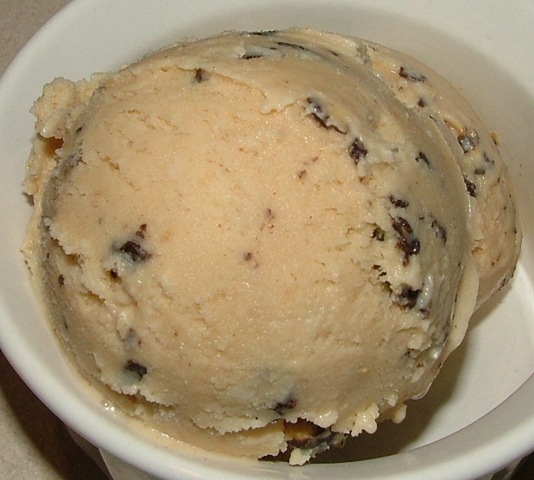
De-licious!
__________________________________________________________________________________
And since we're celebrating the Good Ol' USA, I made these---
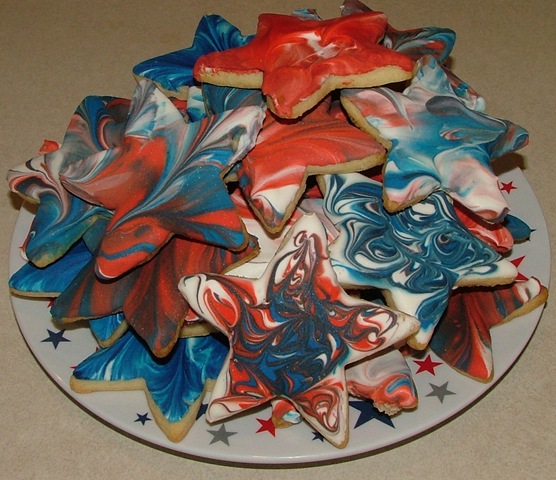
These were really fun to make! They are made with my favorite sugar cookie recipe. Then the cool tie-dye, swirled icing idea I got from Holly's delightful blog, Phe.mom.enon. We made Royal Icing (recipe on Holly's blog, but it's just your basic powdered sugar, meringue powder, water and some flavoring, like vanilla and I added a splash of almond extract. After whipping up the icing, I made some of the icing red with, duh, red food coloring and some blue. Then put some white icing on a paper plate, and drizzle in some red and blue and carefully swirled the three colors using a toothpick. (I added more water to the icing than the recipe suggested until I got the slightly runny consistency I was looking for.) Taylor and Sam helped and thought this was pretty cool. I even thought it was pretty fun and super festive for the Fourth of July!
We did some just blue and white and some red and white.
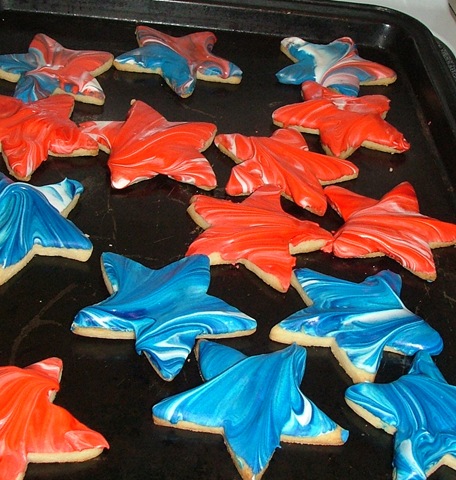
Then we went to town with a mixture of all three colors.
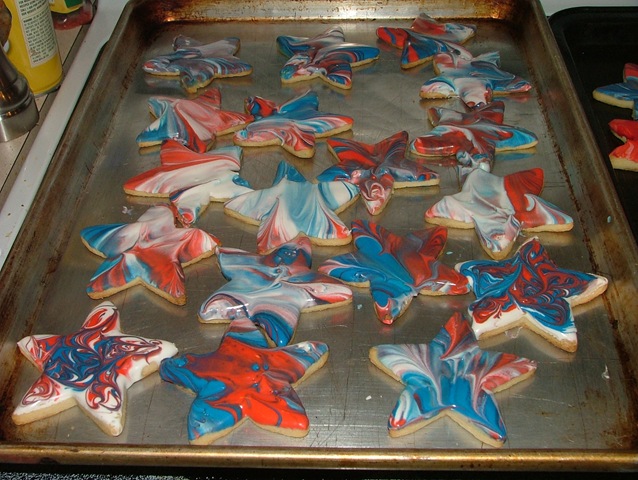
These were really fun, thanks for sharing, Holly!
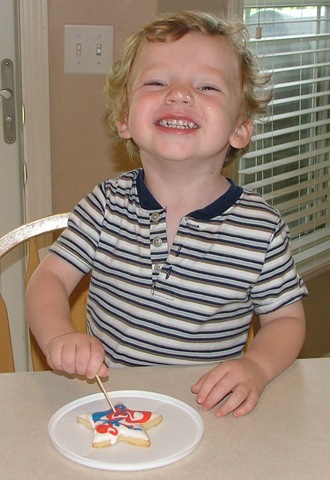
These pictures were taken this morning (Friday) before Sam's nap. He then woke up sick. :(
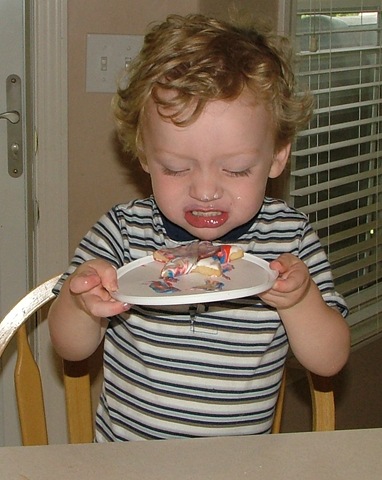
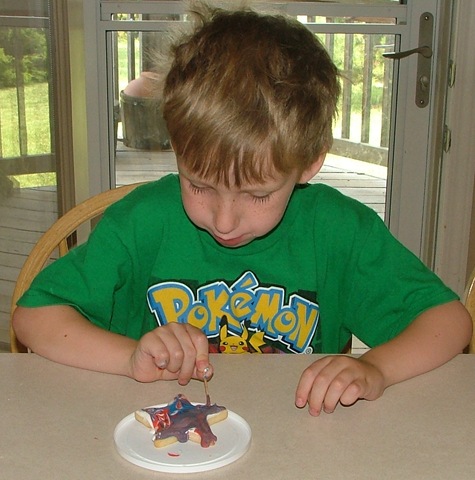
Taylor looks so intent on his work. He thought it was cool to keep swirling until it turned a lovely shade of purple!
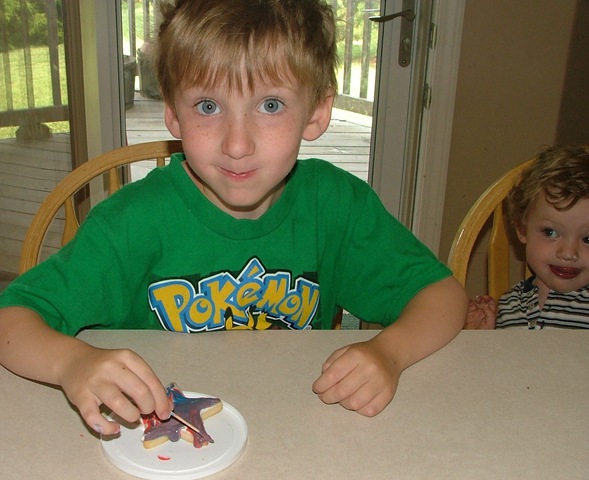
1--I love Taylor's blue eyes. 2--How cute is Sam over on the side there with the icing on his nose!
While I was photographing the plateful of cookies, Taylor thought he should be in one. I like his blue lips.
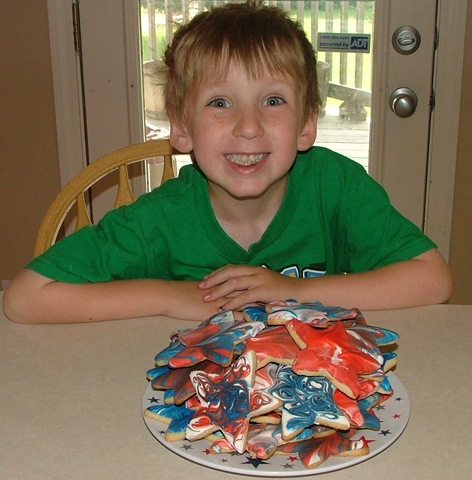
Stars and Stripes Forever! ; )
Archived comments (25)