May 5, 2009
TWD--"Tiramisu" Cake and A Couple Cinco de Mayo Goodies
Here we are with another Tuesday's With Dorie recipe. Man--the week's fly by! I can't believe my kids have less than a month left of school! SIGH! This week's recipe from Dorie Greenspan's Baking From My Home to Yours baking book was chosen by the wonderful
Here we are with another Tuesday's With Dorie recipe. Man--the week's fly by! I can't believe my kids have less than a month left of school! SIGH!
This week's recipe from Dorie Greenspan's Baking From My Home to Yours baking book was chosen by the wonderful Megan of My Baking Adventures. Amazing lady, I tell you. You know the kind, like the ones you feel like you've known for a long time, but have never met. Megan chose Tiramisu Cake, pages 266-268 in the book. You can get the recipe from her blog, but I think you should just buy the book! ; )
Tiramisu Cake. Hmmm. I've never made one, nor have I really ever eaten tiramisu. It has two things in it--coffee and alcohol, that I do not consume. But I knew that MANY people LOVE it and I really wanted to make it and try my own spin on it. So I gave it a shot. In all actuality, what I made probably isn't tiramisu, since I left out the two things that make this cake just that. But it was still a fun experiment because I just don't make cake very often (Kevin doesn't like cake--at all--and the boys don't really care for it. I think they're a little crazy, really.)
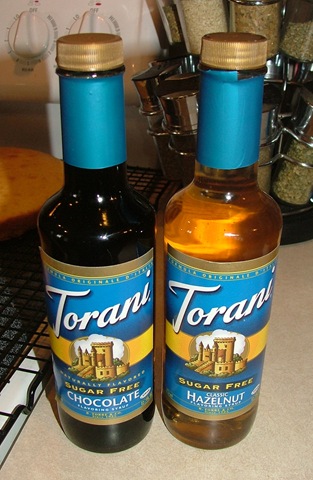
I followed the cake instructions pretty much exactly and came out with two nice 9 inch rounds. Then in place of the espresso extract and espresso syrup, I found these two bottles of flavored syrups used for flavoring coffee (at least that's where it was in the grocery store). Chocolate flavored and hazelnut flavored. I had no idea how these would work, but I liked the idea of hazelnut and chocolate.
I used hazelnut on the first cake layer and doused both sides of the other layer with the chocolate.
Then, is mascarpone supposed to look this "grainy"? I couldn't get it any smoother than this.
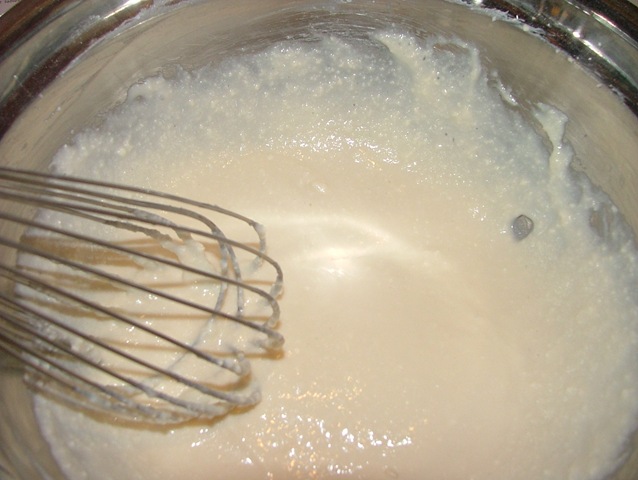
I forged on nonetheless, whipped REAL cream and folding it in with the mascarpone--it looked better after that. I also added a little of both the chocolate and hazelnut flavoring to the cream filling.
Since I was using hazelnut flavor, I decided to add some chopped hazelnuts to the cream filling layer of the cake along with the chopped chocolate (Hershey's Special Dark). I didn't have a ton of nuts left, so I used all I had and wish I'd have had more.
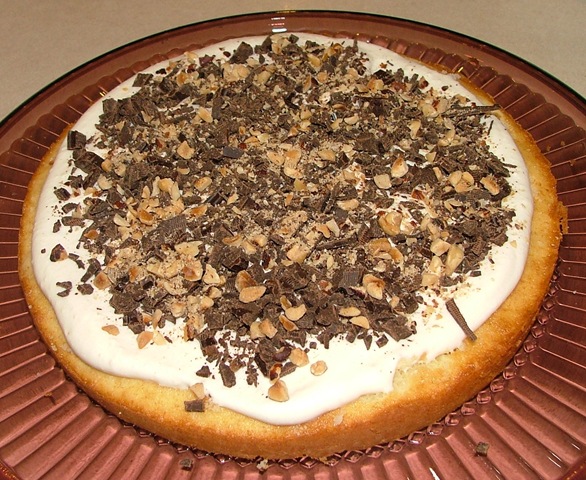
I may not have added enough flavoring, but I did pretty much spoon it over the cake completely and I didn't know if the flavoring would overpower, so I called it good.
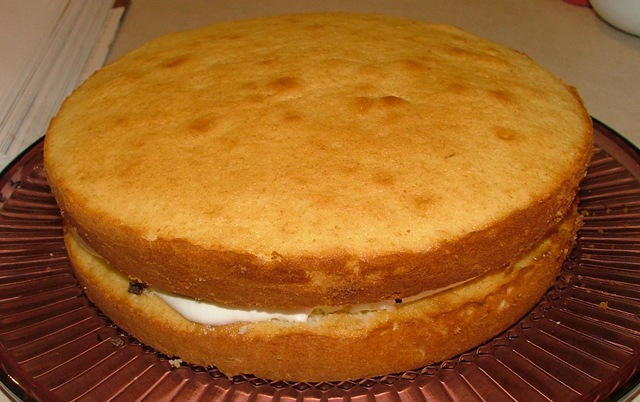
I added some cream to the top after it and the cake sat in the refrigerator for a good 30 minutes. The cream didn't really thicken up at all. I really thought it was too "runny" to try to spread the entire cake, so I left the cream just on the top.
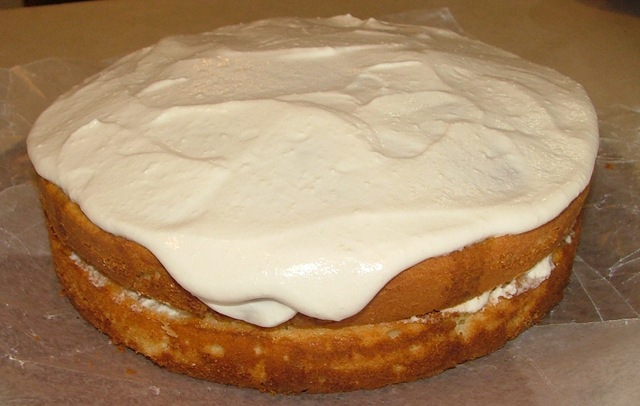
A sprinkling of some more chocolate and hazelnuts and I called it a done deal.
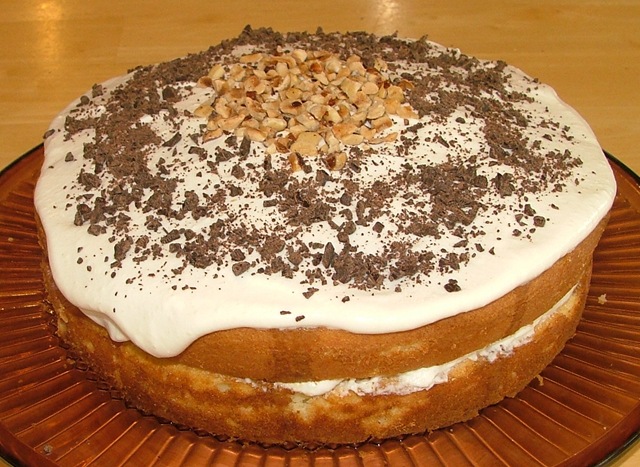
Kev took a bite, I took a couple bites, the boys (Scott and Parker) each had a piece, Taylor and Sam didn't want any and I shared some with my friend, Julie and her husband that night. The cake was a little crumbly and dry and maybe it was because of the flavorings I used, but it really tasted pretty good. It cut beautifully.
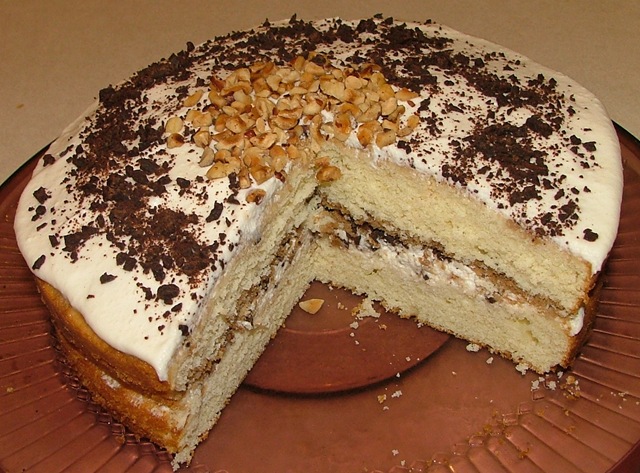
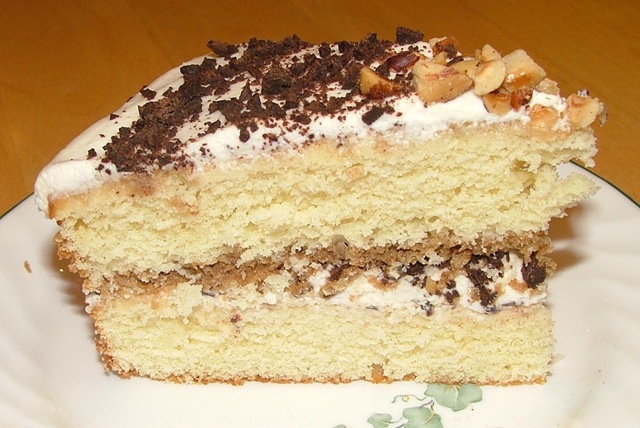
Since I didn't cover all the sides with the filling/frosting, there was a bunch of it left. We decided since it was a little dry that it needed to be served with a couple more spoonfuls of the filling. (No picture.) After all was said and done, this version of my "Mormon" tiramisu was good. I was happy with it. Thanks, Megan. This was a fun challenge for me. Check out all the other's tiramisu cakes on the TWD blog roll.
___________________________________________________________________________________
This being a fun day to celebrate Cinco de Mayo, I made some killer chicken fajitas for dinner (on Monday the 4th, as the 5th will be a busy evening--I'm taking a class on how to make cupcakes and frost them--FUN!) and decided to make some Mexican brownies to go with the meal. I found the recipe on Epicurious, but also realized it was the same recipe pretty much as a bunch of others I found, a few of them linking to a Martha Stewart fudgy Mexican brownie. So Google it if you want, here is the recipe as I adapted it and made it. The brownies are pretty good. I thought they were a little dry, but still kind of fudgy. The flavor was the star here with added cinnamon and a kick from some cayenne!
Mexican Brownies
4 ounces unsweetened chocolate, chopped
1/2 cup unsalted butter
1 1/4 cups brown sugar, packed
1 1/2 teaspoons ground cinnamon
3 good shakes of cayenne powder--it was the perfect amount
1/4 teaspoon salt
3 large eggs
1 teaspoon vanilla extract
3/4 cups unbleached all purpose flour
3/4 cup semi sweet chocolate chips
Preheat oven to 325 degrees. Line an 8 inch (or 9 inch) square baking pan with non stick foil (or spray bottom of pan with cooking spray). Set aside.
Melt butter in saucepan, add chocolate chocolate, stir until melted. Cool five minutes. Add brown sugar, cinnamon, cayenne and salt and stir to combine. Whisk in eggs and vanilla until well incorporated. Stir in flour to combine, then the chocolate chips.
Spread batter in pan and smooth evenly. Bake for 30 minutes or until toothpick inserted in center comes out almost clean. Cool completely on wire rack.
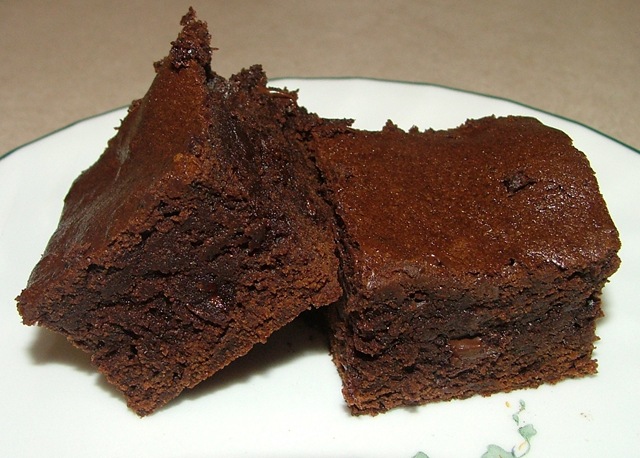
The boys actually liked these! Even Taylor--I totally thought he'd be turned off by the kick of cayenne and the cinnamon. They enjoyed these with some chocolate ice cream. Isn't everything good with ice cream?!
Next time I make a flavored brownie like this, I will probably just use one of the brownie recipes I already really like and add the flavors, but this recipe isn't bad at all.
AND THEN---I found something today that I have actually been looking for for a while--since November when Kevin and I went to NYC and ate at Bobby Flay's Mesa Grill. I wasn't even looking for it, but ran in to BLUE CORNMEAL. I have wanted to recreate his amazing corn muffins since November and just had to do it, it was perfect to go with our Mexican dinner. I quickly got online and Googled Bobby Flay's Blue Corn Muffins and this recipe came up near the top from www.starchefs.com. I hurried and printed it and got to work. I was excited that I actually had all the ingredients on hand. I knew this wasn't Bobby's exact recipe, I have that one printed somewhere and I'm pretty sure it calls for some chili powder and this one I made didn't, but holy cow--these muffins are SO good. Perfect taste of just a little heat (there is a whole jalapeno in a recipe for 7 muffins, so I was afraid it would be too spicy for me). It also has just a little bit of onion (which I loathe!), but I followed the recipe exactly. Kevin doesn't care for corn bread or muffins, but we had some company over for dinner and they all liked the muffins. I LOVED them. Not sure why, but I just really like all the flavors.
Mesa Grill's Blue Corn Muffins, adapted from StarChefs.com
Yield: 6 muffins (I got 7 perfect muffins!)
- 2 ounces (1/2 stick) unsalted butter
- 3 Tablespoons onion, finely diced
- 1 clove garlic, finely chopped
- 1/2 cup milk (I used 2%)
- 2 large eggs
- 1/4 cup red bell pepper, finely diced
- 1 jalapeño pepper, finely diced
- 1/4 cup fresh or frozen corn, thawed
- 1 Tablespoon cilantro leaves, finely chopped
- 3/4 cup blue cornmeal (can substitute yellow)
- 1/2 cup all-purpose flour
- 1 1/2teaspoons baking powder
- 1/4 teaspoon baking soda
- 1/2 teaspoon salt
- 1 Tablespoon granulated sugar
Set a rack in the middle of the oven and preheat to 400°F. Grease a muffin pan with non-stick vegetable spray.
In a small saucepan, melt the butter. Add the onions and garlic (I grated the onion and garlic with a fine cheese grater) and cook until soft, about 3-4 minutes.
In a large mixing bowl, whisk together the milk, eggs, bell pepper, jalapeño, corn and cilantro. Whisk in the butter mixture. In a separate bowl, stir together the cornmeal, flour, baking powder, soda, salt and sugar. Mix into the liquid mixture.
Divide the batter evenly among the muffin tin and bake for 16 minutes (I baked mine for 15 minutes) or until set, turning the pan once for even baking. Cool a few minutes, then remove from muffin pan and cool on wire rack. These are actually best warm!
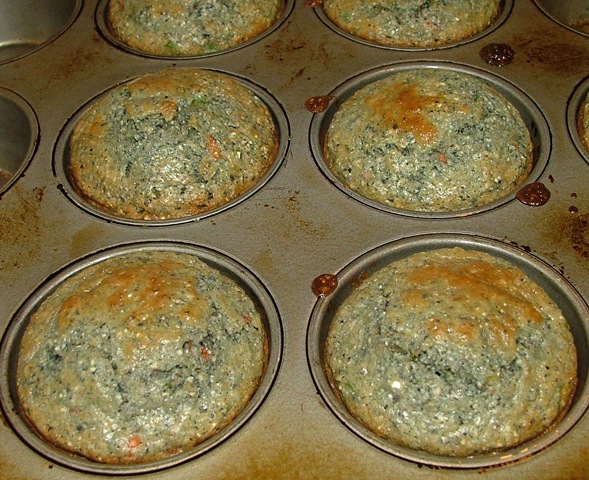
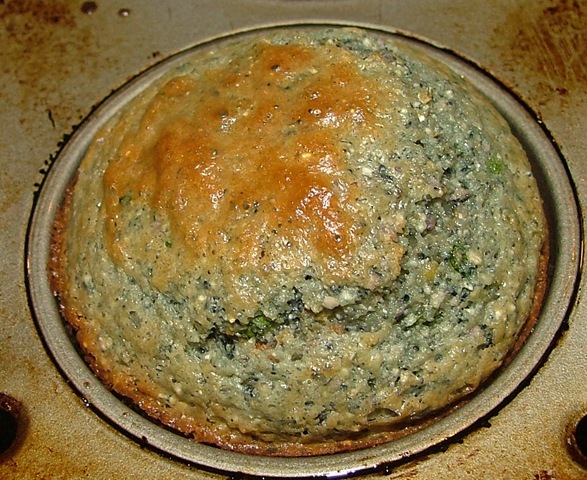
Look at that, so much flavor!
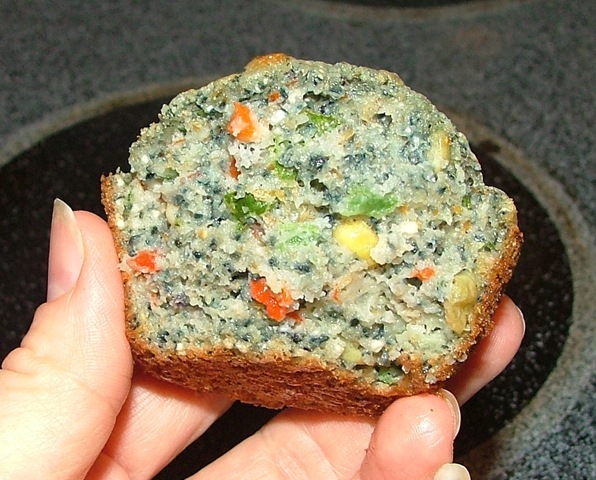
Ya gotta try these the next time you make corn bread/muffins!
Archived comments (36)